Adding a printer - macOS 10.10 Yosemite
This manual is for older systems and/or software and is no longer maintained.
This manual is meant for 1A-server users. It explains how a printer can be added in MAC macOS Yosemite. You can only print a document if a printer has been added to your computer. In order to use the printer your computer must be added to the list of printer users in the 1A-manager, your network administrator can do this for you.
The 1A-server can help you to manage your printers. By connecting the printer to the 1A-server several computers can use the printer. The 1A-manager will allow precise control of which users are allowed to use a printer.
This manual explains how to add a network printer to your computer. The manual will then show you how to check whether you have succeeded. Then you should be able to print in the added printer.
Requirements
To complete this manual, you will need:
- The hostname of your 1A-server
- Your username and password
- User permissions on the printer
- The printer driver. This can be found either on the cd that accompanies the printer or on the manufacturers website.
Steps
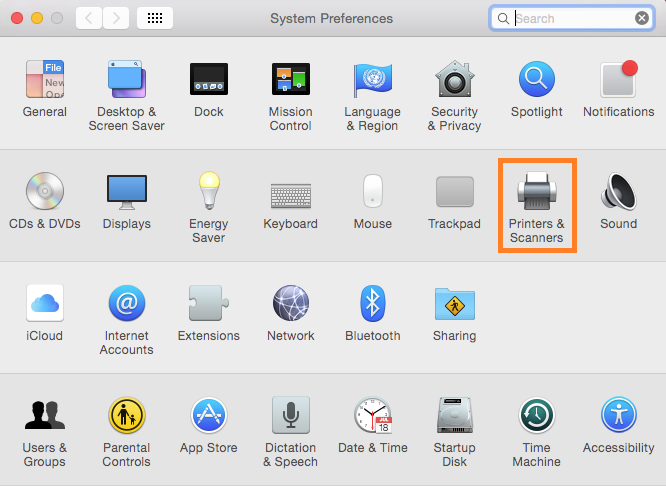
Open Printer & Fax
- Open
System Preferences - Click
Printers & Scanners
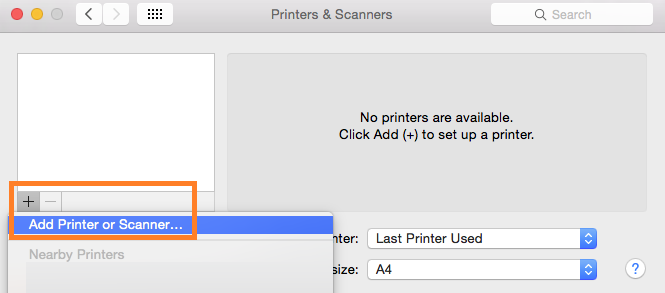
Add printer
- Click the plus sign (+) in the bottom left of the window
- Select "Add Printer or Scanner..."
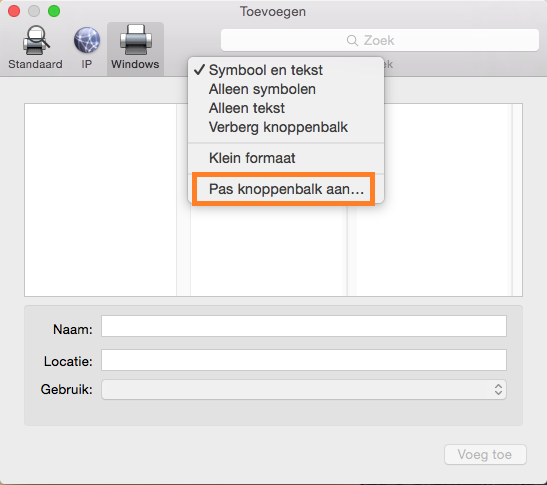
Modify toolbar (1)
- Right-click the toolbar next to the option
Windows - Click
Customize Toolbar
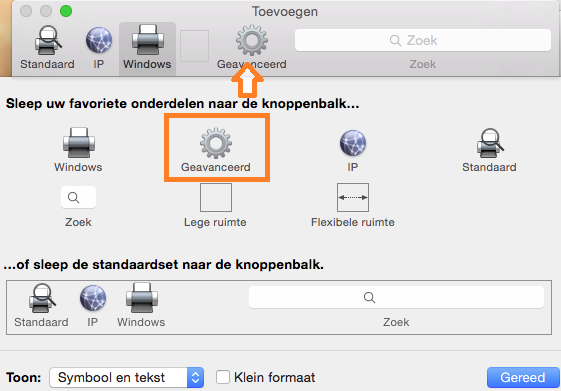
Modify toolbar (2)
- Drag the option
Advancedto the toolbar
Configure printer
- Click
Advanced - At
Typeselect "Windows printer via spoolss" - At
URLenter the URL to your printer in the format "smb://servername/printername" - Enter an appropriate
Name - Enter a
Location(optional) - At
Print Usingchoose the correct driver for your printer - Click
Add

Connnect printer
- Your printer is now connected