Office 365 with Outlook - Calendar
This manual is meant for Outlook users.
This manual explains how to connect to a shared calendar and how to share your own calendar.
Requirements
To complete this manual, you will need:
- A computer connected to the internet
- The Outlook client
Usage
1
Sharing your own calendar
- See the steps under "Configure" in this manual
2
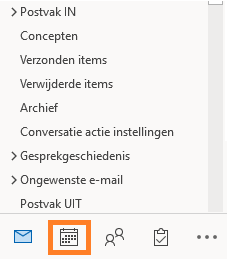
Go to the Outlook Calendars view
- Open Outlook
- in the bottom-left corner in Outlook, click on the calendar-icon
3
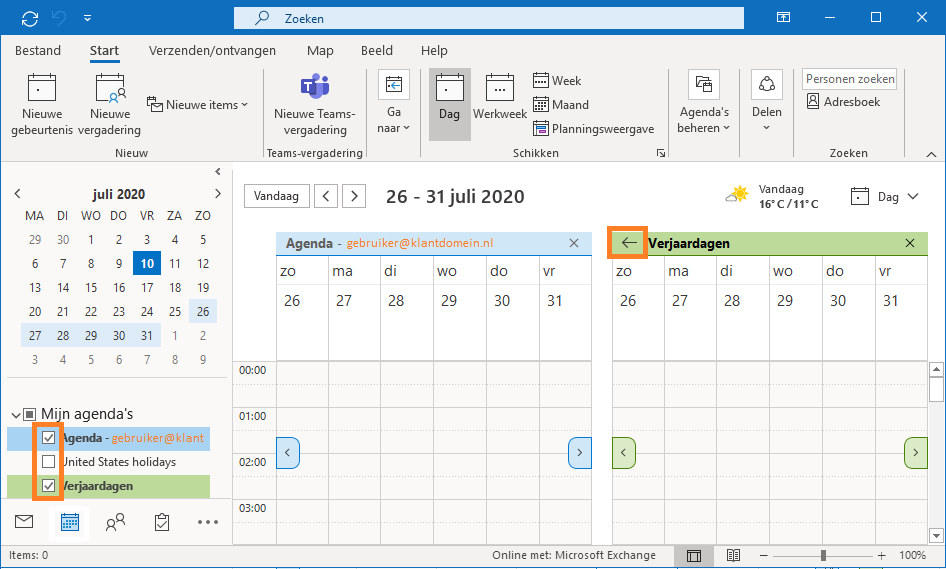
viewing a shared calendar
- The lower-left part of the navigation-pane shows the calendars that have been added to your Outlook
- Select the calendars you want to display
- in the main view-pane, Click on ← to overlay the calendars
- Deselect the calendars you don't want to display anymore
- When a shared calendar isn't visible in your Outlook,
Follow the steps "Adding a shared calendar"
4
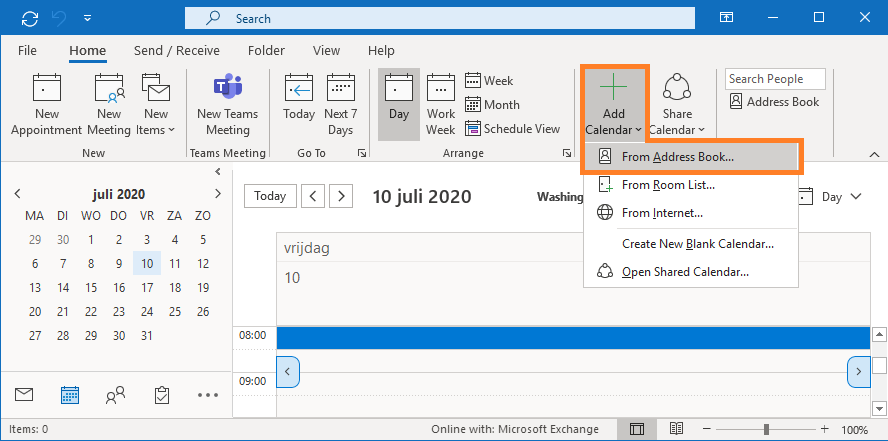
Adding a shared calendar (1)
- In the Outlook Calendars view
- Click
Add Calendar - Choose
From Address Book...
5
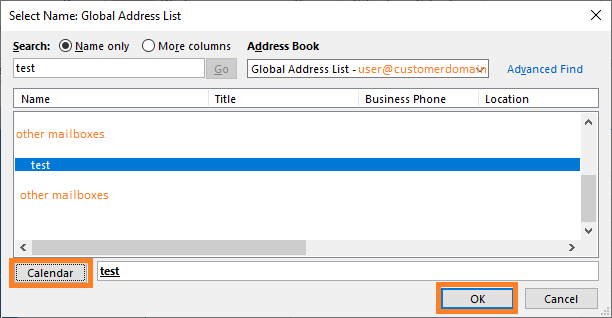
Adding a shared calendar (2)
- In Adress Book "
Global Address List", search for the calendar you want to add - Click button
Calendarto add the selected calendar to the field - You can add multiple calendars to this field
- Click
OK
Steps
1
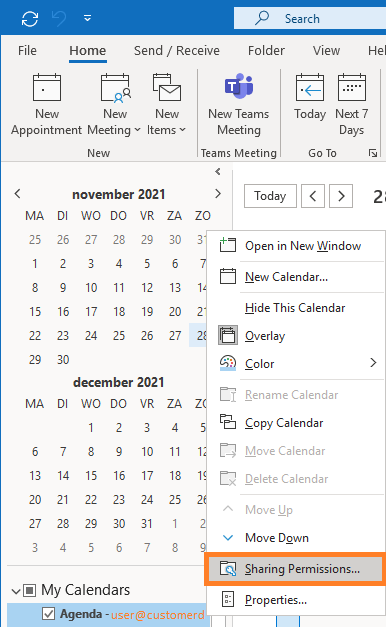
Sharing your calendar with colleagues
- Go to the Outlook Calendars view
- Right-click on your own calendar, choose option "
Sharing Permissions...", this will open a new screen
2
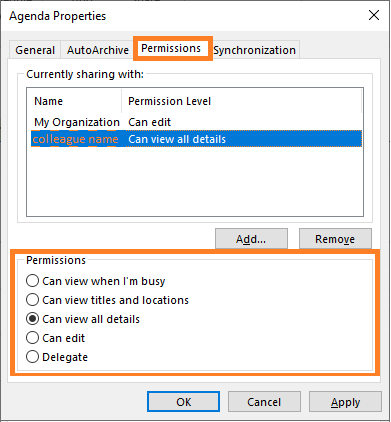
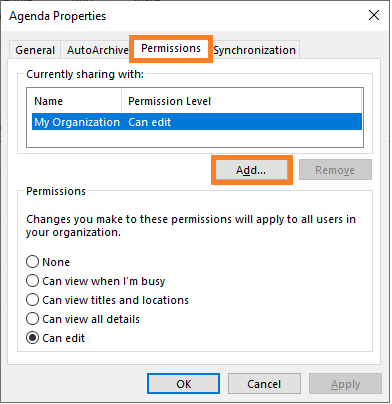
Add Calendar permissions
- In screen "
Agenda Properties", choose tabPermissions - Click button
Add, this will open a new screen
3
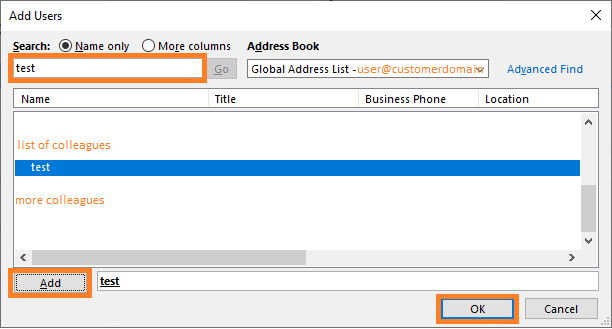
Select the colleagues you want to add
- In screen "
Add Users", select the colleagues that you want to give permissions on your calendar - Use the bar underneath Search to search for your colleague
- Click
Add - This will put your colleague's name in the field behind the
Addbar, you can add multiple colleaugues - Click on
OK
4
Set the permissions for your colleagues
- In screen "
Calendar Properties", make sure you are on tabPermissions - Select the colleague whose permissions you want to set
- Choose which permissions you want to give to this colleague
- Click
Applyif all settings are as you want them to be - Click
Removeif you want to stop sharing your calendar with this colleague - Click
OKif you want to close this screen