Software phone (Bria) - iPhone & iPad
This manual is meant for 1A-server users.
This manual explains how to use 1A-telephony on your Apple smartphone by using the Bria Enterprise softphone.
Requirements
To complete this manual, you will need:
- The
Bria Enterpriseapp installed on your smartphone - Your
Bria accountnameandpasswordas given to you by your 1A-manager
Usage
1
Start Bria Enterprise
- Open app
Bria

2
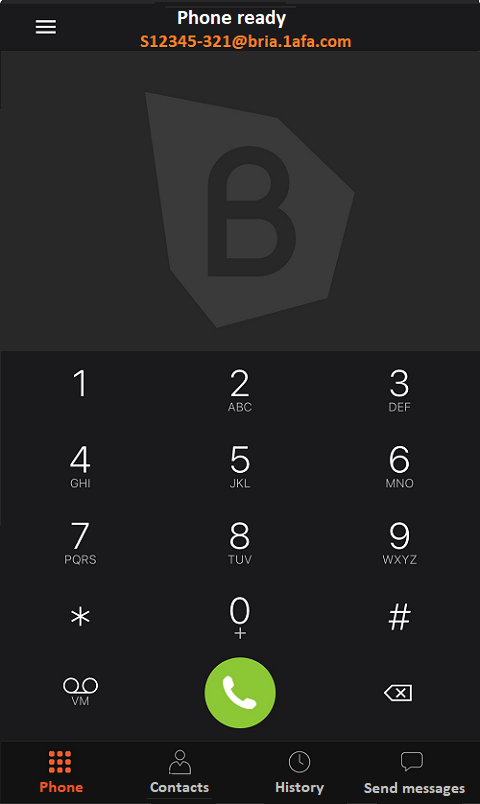
Use Bria Enterprise
- You can now use your
Briasoftphone
Steps
2
Start Bria Enterprise
- Open app
Bria

3
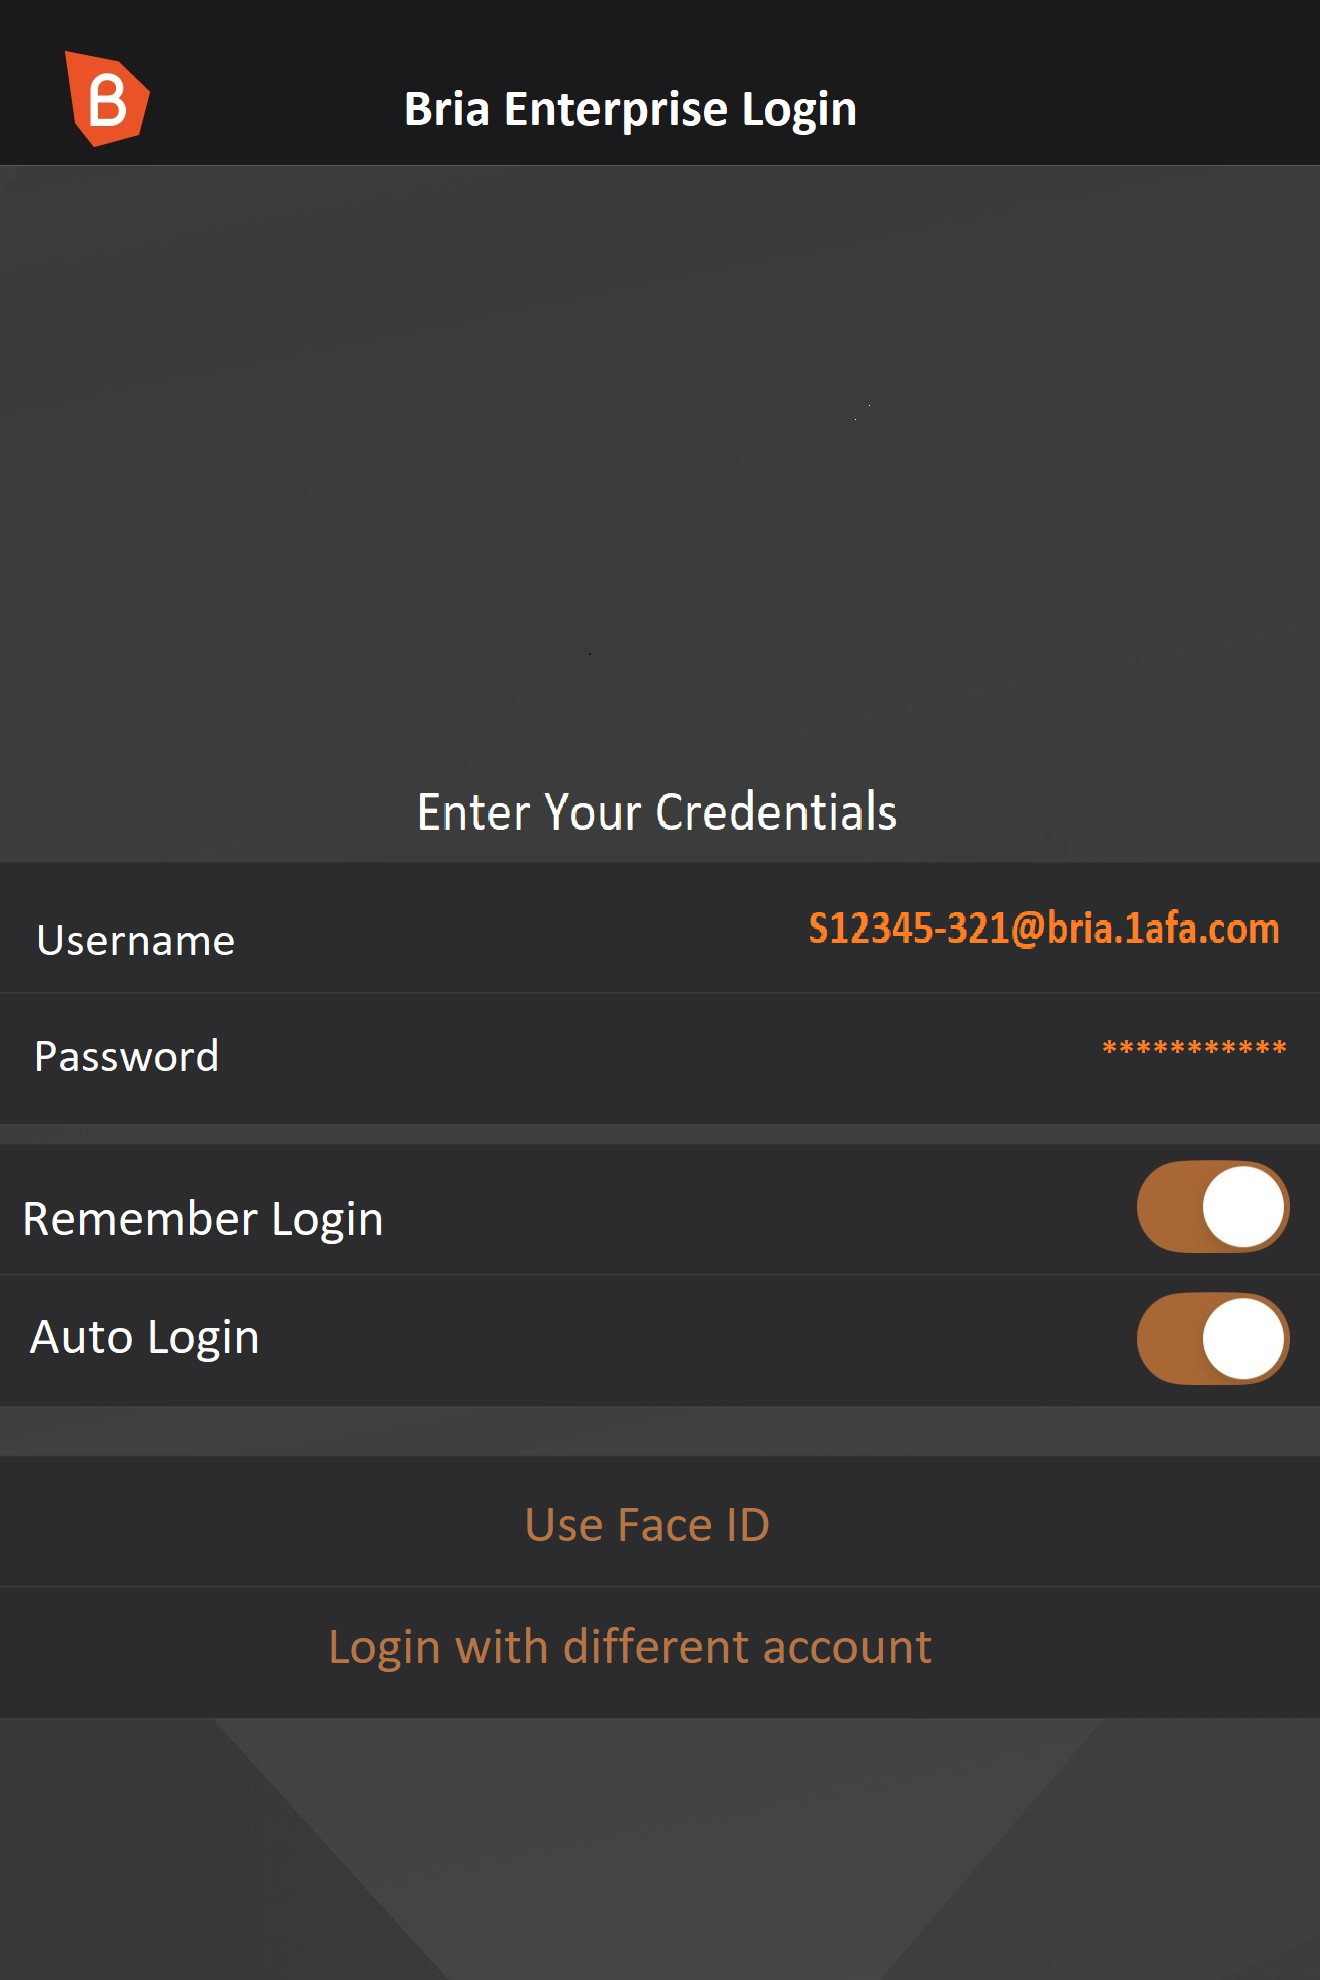
Configure your Bria-account
- Enter your "
Bria accountname" and "Bria password" - Hint: Your bria-account should look like
S12345-321@bria.1afa.com
4
Use Bria Enterprise
- You can now use your
Briasoftphone

Troubleshooting
1
No connection over WiFi
- In Settings → Apps → Bria Enterprise →
- enable option "
Local Network"
2
No connection over 4G or 5G
- In iOS Settings → Mobile →
- heading "
Mobile Data" → enable "Bria Enterprise" - heading "
Mobile Data" → set option "Calls and data" to "5G Automatically" (for 5G) - In Settings → Apps → Bria Enterprise →
- enable option "
Mobile Data" - In the Bria App → Menu → Settings → Preferences →
- heading "
Mobile Data Network" → enable option "Use when available" - heading "
Mobile Data Network" → enable option "Allow VoIP calls"
3
Check IOS settings
- In iOS Settings → Mobile →
- heading "
Mobile Data" → enable "Bria Enterprise" - In iOS Settings → General → Background App Refresh →
- set option "
Background App Refresh" to value "Wifi & Mobile Data" - enable "
Bria Enterprise" - In iOS Settings → Apps → Bria Enterprise →
- enable option "
Local Network" - enable option "
Microphone" - enable option "
Background Refresh" - enable option "
Mobile Data" - Notifications → enable option "
Allow Notifications" - Notifications → option "
Alerts" enable "Lock screen", "Notification center", "Strips" - Notifications → set option "
Strip Style" to value "Persistent" - Notifications → enable option "
Sounds" - Notifications → enable option "
Badges"
4
Check Bria settings
- In the Bria App → Menu → Settings → Preferences →
- heading "
Mobile Data Network" → enable option "Use when available" - heading "
Mobile Data Network" → enable option "Allow VoIP calls" - heading "
General" → enable option "Improve accessibility" - heading "
General" → set option "Reachability strategy" to value "Extended" - heading "
General" → disable option "Private when in background" - heading "
Call Handling" → enable option "Internal Integration" - heading "
Incoming Call" → enable option "Missed Notification" - heading "
Incoming Call" → disable option "Compare Contacts for Caller ID" - heading "
Incoming Call" → disable option "Disable Call Waiting" - heading "
Client-Side Call Forwarding" → disable option "Call forwarding"