Setting up a VPN connection (IPsec) - macOS
This manual is meant for 1A-server users. It explains how you can make a secure connection to your company's network. This way you can use your company's network just as when you are connected directly.
To be able to connect, you have to be a member of the group 'vpn'. After that, you can create a connection with the steps below.
Requirements
To complete this manual, you will need:
- The hostname of your 1A-server
- Your username and password
- Your local username and password (of the Mac, not of the 1A-server)
Usage
1
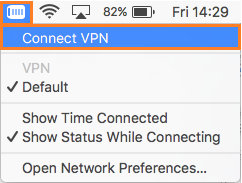
Connecting to your company's network
- Click the
VPNicon on the menubar - Click
Connect VPN
2
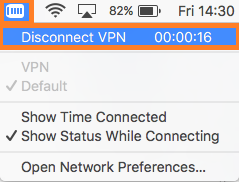
Disconnecting from your company's network
- Click the
VPNicon on the menubar - Click
Disconnect VPN
Steps
1
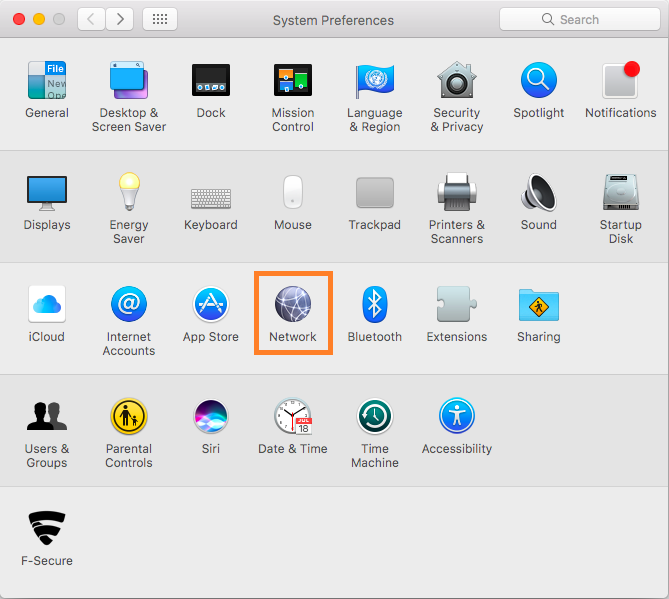
Opening System Prefences
- Click the
System Prefencesicon in the dock

2
Opening 'Network
- Click
Network
3
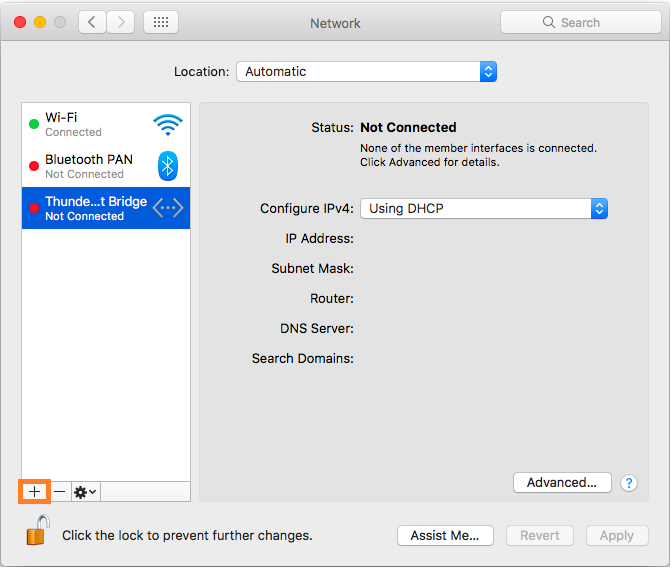
Changing Network Prefences
- Click on the lock to allow changes to your network settings

4
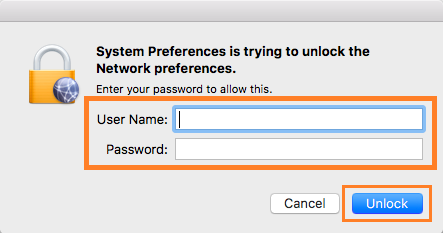
Allowing changes
- Enter your local username and password (of the Mac)
- Click
Unlock
5
Creating a new VPN connection (1)
- On the bottom left, click
+
6
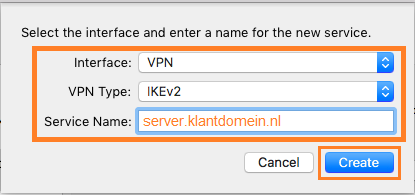
Creating a new VPN connection (2)
- At
Interface, selectVPN - At
VPN Type, selectIKEv2 - At
Service Name, enter a name for the VPN-connection - Click
Create
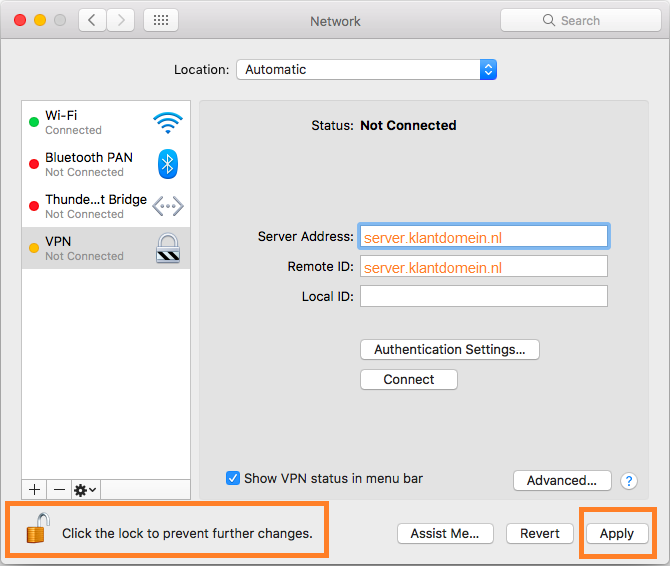
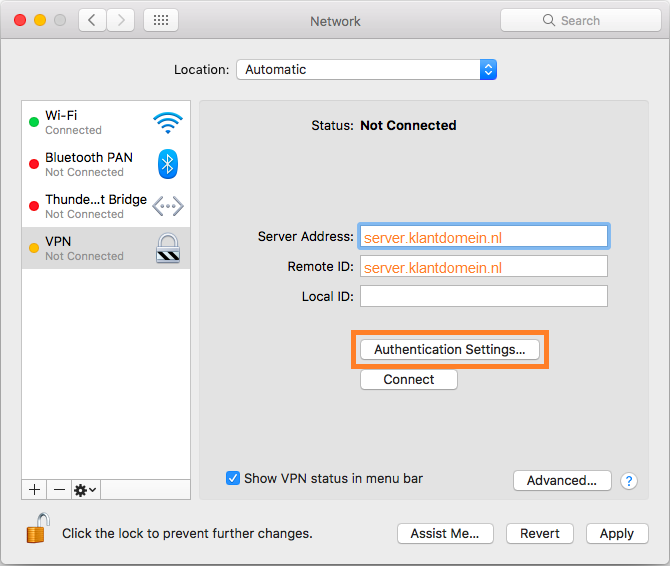
7
Creating a new VPN connection (3)
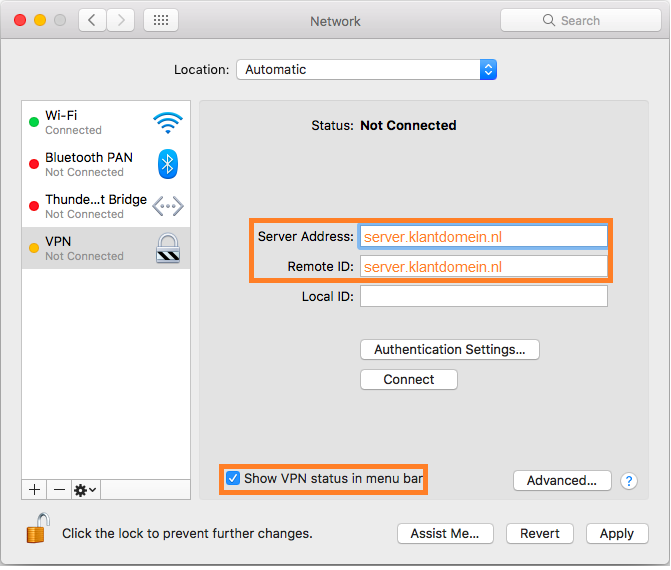
8
Creating a new VPN connection (4)
- Click "Authentication Settings..."
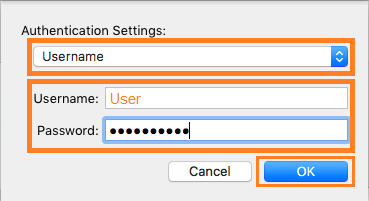
9
In Authentication Settings
- At
Authentication Settings, selectUsername - Enter your
UsernameandPassword(of the 1A-server) - Click
OK
10
Creating a new VPN connection (5)
- Click
Apply