Setting up a VPN connection (OpenVPN) - macOS
This manual is meant for 1A-server users.
It explains how you can make a secure connection to your company's network with the help of OpenVPN.
This way you can work as if you are connected to your company's network directly.
To be able to use OpenVPN, you have to be a member of the group 'vpn'. After that, you can create a connection with the steps below.
Requirements
To complete this manual, you will need:
- Your username and password
- The ovpn file. You can download it from the Server Info page on your 1A server.
Usage
1
Connecting to your company's network (1)
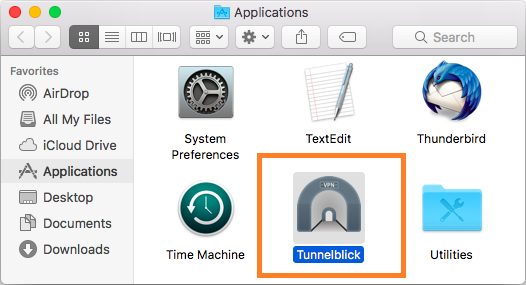
- Press SHIFT + ⌘ + A
- Double-click
Tunnelblick - Tunnelblick is now available as an icon at the top right
2
Connecting to your company's network (2)
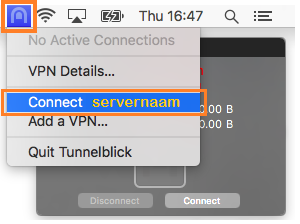
- Click on the Tunnelblick icon
- Click option "
Connect <servername>"
3
Connecting to your company's network (3)
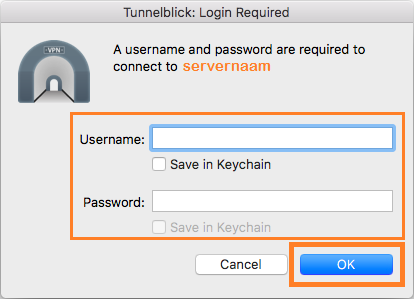
- Enter your username and password (of the VPN)
- If so desired, check "
Save in Keychain" - Click
OK
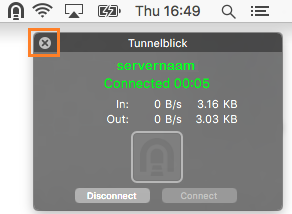
4
The connection has been established
- Close the statistics window
Steps
2
Install Tunnelblick (2)
- Open Downloads in Finder met ALT + ⌘ + L
- Double-click the Tunnelblick .dmg file
3
Install Tunnelblick (3)
- In the new window, double-click the Tunnelblick icon

4
Install Tunnelblick (4)
- Click
Open

5
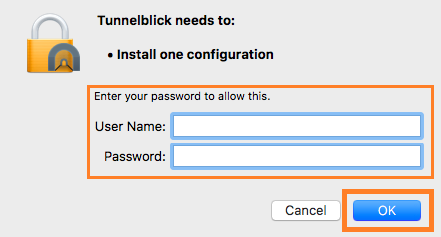
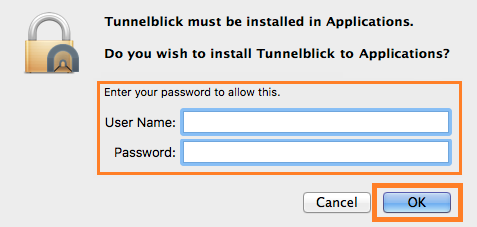
Install Tunnelblick (5)
- Enter your local username and password (of the Mac, not of the VPN)
- Click
OK
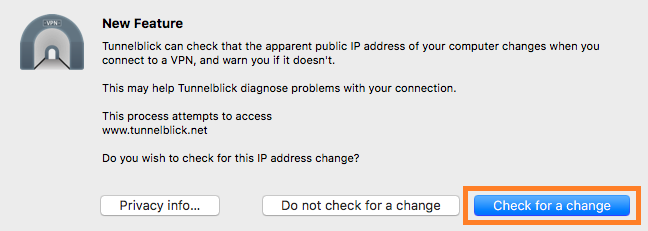
6
Install Tunnelblick (6)
- Click "
Check for a change"
7
Install Tunnelblick (7)
- Click "
I have configuration files"
This will associate files of type ".ovpn" with the Tunnelblick application

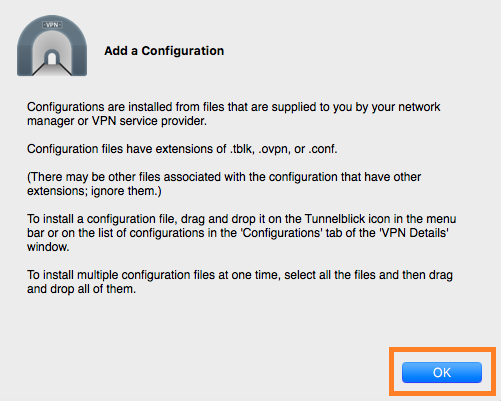
8
Install Tunnelblick (8)
- Click
OK
9
Preparing the Tunnelblick configuration (1)
- Download the OpenVPN config-file from the Server Info page on your 1A server.
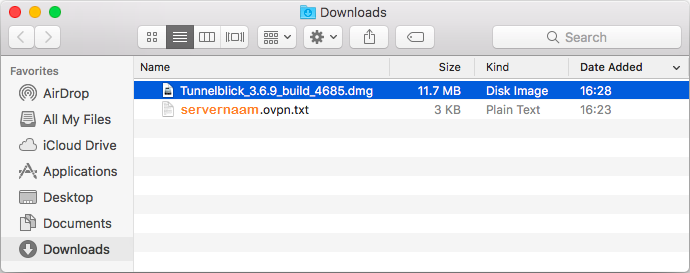
- Open Downloads in Finder met ALT + ⌘ + L

10
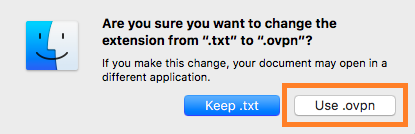
Preparing the Tunnelblick configuration (2)
- Rename file "<servername>
.ovpn.txt" to "<servername>.ovpn" - At the popup, click "
Use .ovpn"
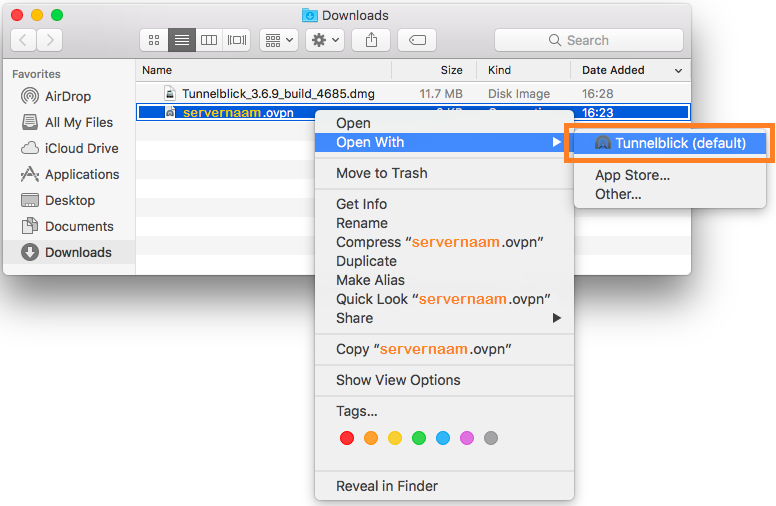
11
Creating the profile (1)
- Right-click file "<servername>.ovpn"
- Select "
Open With" > "Tunnelblick"
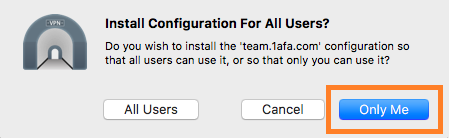
12
Creating the profile (2)
- Click "
Only Me"
13
Creating the profile (3)
- Enter your local username and password (of the Mac, not of the VPN)
- Click
OK