Adding a printer - Windows 8.1
Microsoft has ceased security support for Windows 8.1 on 9 January 2018. This means that PCs running Windows 8.1 will no longer be safe to use.
Please contact your 1A partner to obtain a more recent operating system or a new PC.
This manual is for older systems and/or software and is no longer maintained.
This manual is meant for 1A-server users. It explains how a printer can be added in Windows 8.
You can only print a document if a printer has been added to your computer. In order to use the printer your computer must be added to the list of printer users in the 1A-manager, your network administrator can do this for you.
The 1A-server can help you to manage your printers. By connecting the printer to the 1A-server several computers can use the printer. The 1A-manager will allow precise control of which users are allowed to use a printer.
This manual explains how to add a network printer to your computer. The manual will then show you how to check whether you have succeeded. Then you should be able to print in the added printer.
Requirements
To complete this manual, you will need:
- The server name of your 1A-server
- Your username and password
- User permissions on the printer
Steps
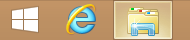
Search the server with explorer
- Click the explorer icon, it is near the start button in the taskbar
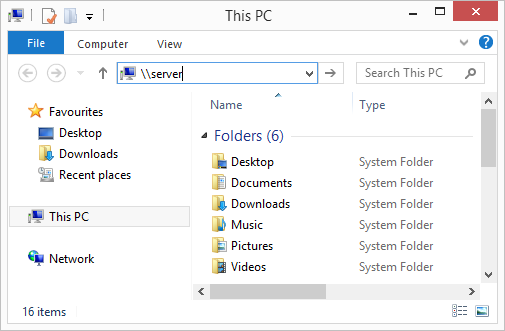
Accessing the server
- In the navigation bar, enter the name or IP address of your server prefixed by two backslashes.
For example\\servernameor\\companyname - Press 'Enter' on your keyboard
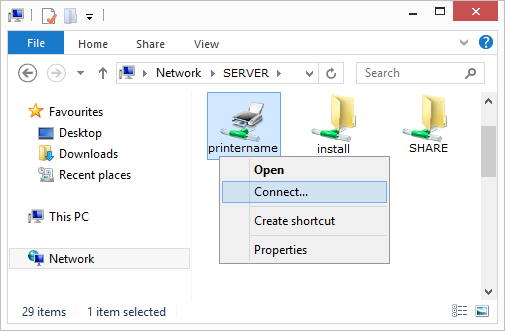
Install printer
- Right-click the printer you want to install
- Choose
Connect... - Should you receive a security warning, click
Yes
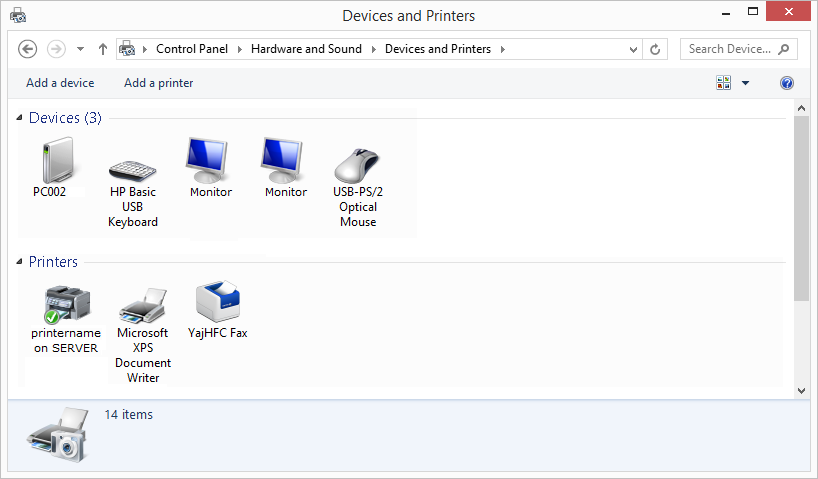
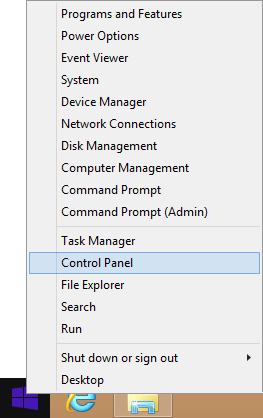
Check the printer (1)
- Right-Click the start button
- Click
Control Panel
Check the printer (2)
- Click
View Devices and Printers

Check the printer (3)
- Check whether you can see the printer that you wanted to install
- Close the window