SOGo Web - Calendar
This manual is meant for users of SOGo Groupware on the 1A-server. It explains how you can use the SOGo Web client to access calendars and share them.
Requirements
To complete this manual, you will need:
- Your username and password
Steps
1
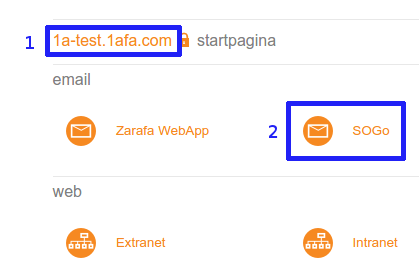
Open SOGo Web
- Browse to http://1a-server
- Click on the public link
- If you haven't done this already, please bookmark this page
- Click
SOGo - Log in with your username and password
2
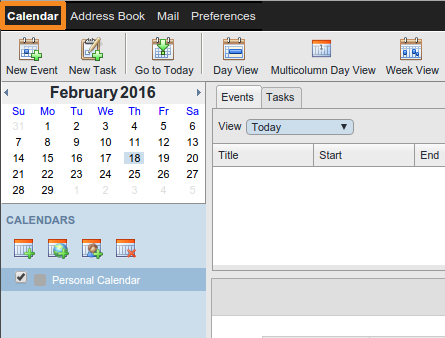
Open calendar
- At the top, click
Calendar
3
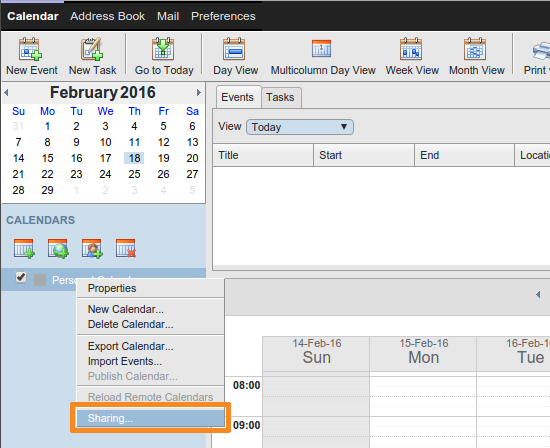
Share your calendar
- Right-click
Personal Calendar - Choose
Sharing...
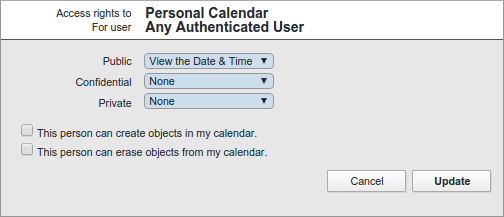
4
Share your calendar with everyone
- Double-click
Any Authenticated User - Adjust the Access rights according to your wishes
- Click
Update
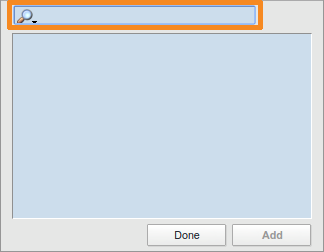
5
Share your calendar with a specific user (1)
- Click the icon with the green plus
- Type the desired name
- Click the intended user
- Click
Add
The user has now been added - Click
Done
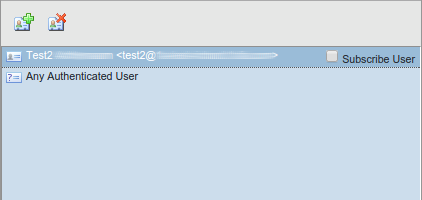
6
Share your calendar with a specific user (2)
- Double-click the newly added user
- Adjust the Access rights according to your wishes
- Click
Update - When you check
Subscribe User, the other user or group will automatically get this calendar added
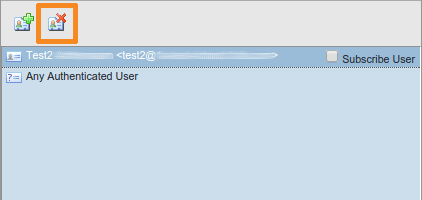
7
Remove sharing permissions
- Click the user or group for which you want to remove the permissions
- Click the icon with the red cross
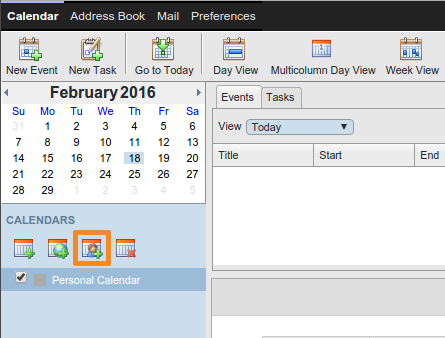
8
Add a shared calendar
- Click the icon to add a shared calendar
- Type the desired name
- Double-click the intented user
- Double-click
Personal Calendarfor this user
9
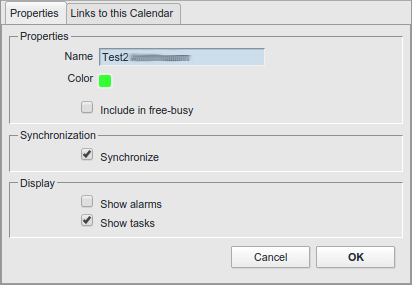
Modify a shared calendar
- Right-click the newly added calendar
- Choose
Properties - Change
Nameto a shorter name, for example only the name of the user - Optionally select a different color for this calendar
- Check
Synchronize - Click
OK
10
Remove a shared calendar
- Select the shared calendar you wish to remove
- Click the icon to remove a shared calendar

11
Invite Attendees (1)
- Open a (new) appointment
- Click
Invite Attendees
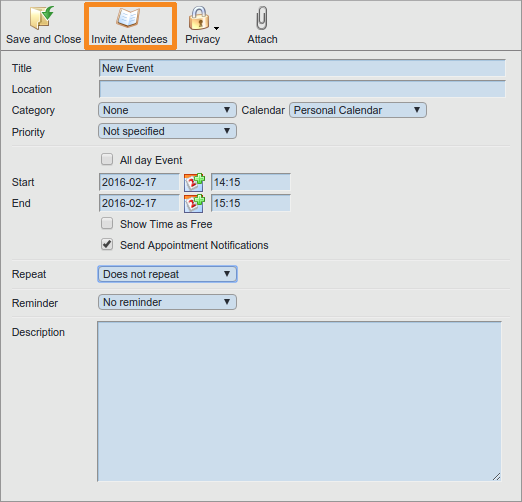
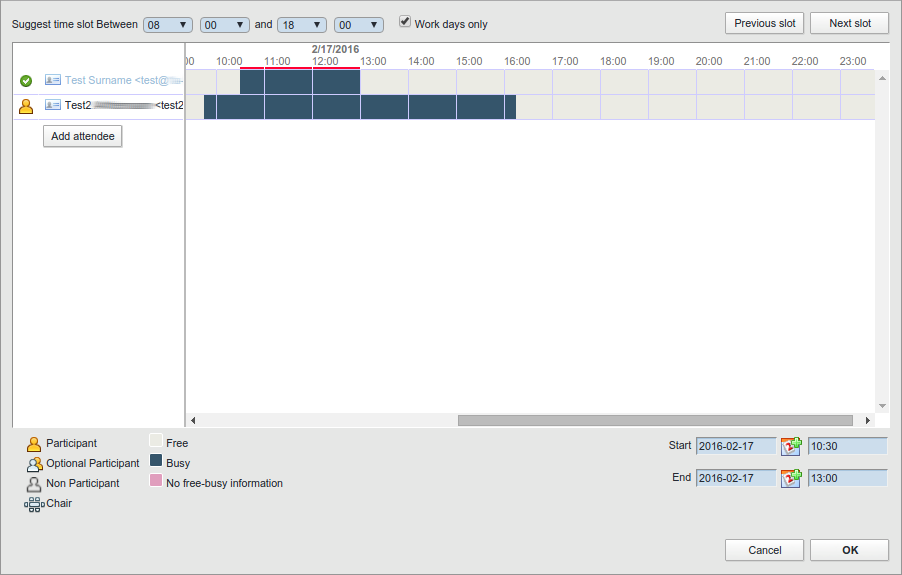
12
Invite Attendees (2)
- Add attendees in the left column
- The availability will be shown in the right column (the color legend can be found at the bottom)