Authenticated Wifi - Windows 7
Microsoft has ceased security support for Windows 7 on 14 January 2020. This means that PCs running Windows 7 will no longer be safe to use.
Please contact your 1A partner to obtain a more recent operating system or a new PC.
This manual is for older systems and/or software and is no longer maintained.
This manual is meant for administrators of a domain with a 1A-server. Authenticated Wifi is available when you have the 1A-option "Managed Wifi".
In the 1A-manager, you can configure which persons are allowed to use their own credentials for using Wifi. You can do this by adding users to the group wifi. This process is described in the 1A-manager manual Authenticated Wifi.
Requirements
To complete this manual, you will need:
- The 1A-option "Managed Wifi"
- Your username and password
- Membership of the configuration group wifi
- The name of your wireless network (ask your 1A-manager in case of doubt)
Steps
1
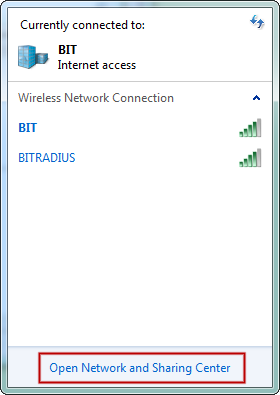
Manage wireless networks (1)
- Click on the Wireless Networks icon in the lower right corner of the taskbar

2
Manage wireless networks (2)
- Click
Open Network and Sharing Center
3
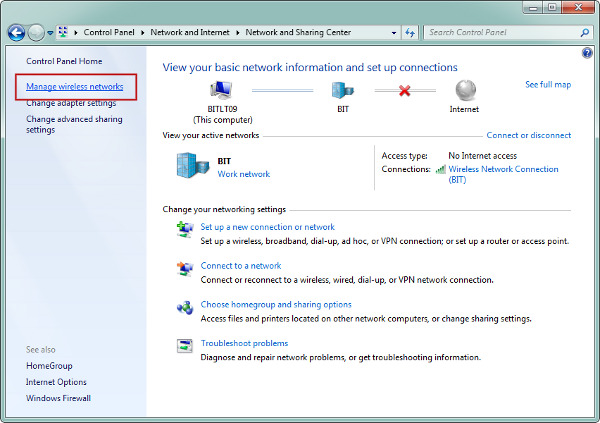
Manage wireless networks (3)
- Click
Manage wireless networks
4
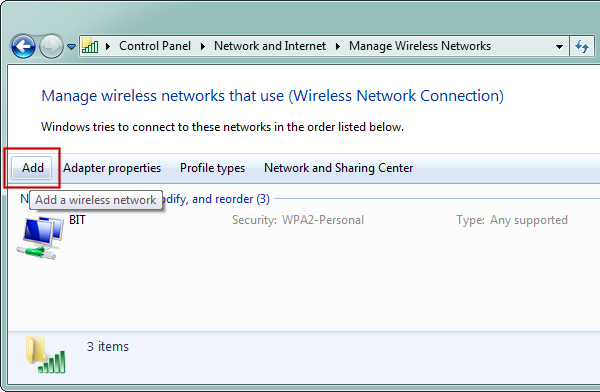
Add wireless network (1)
- Click
Add
5
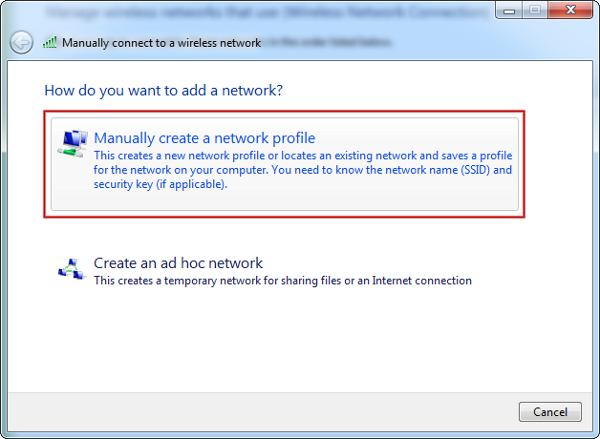
Add wireless network (2)
- Click
Manually create a network profile
6
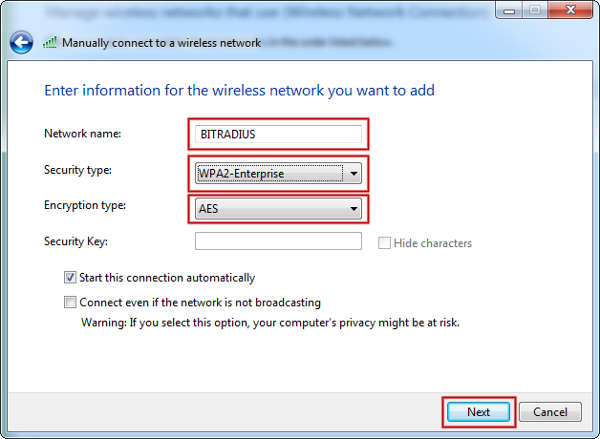
Add wireless network (3)
- Enter the name of the wireless network at
Network name - Enter "WPA2-Enterprise" at
Security type - Enter "AES" at
Encryption type - Click
Next
7
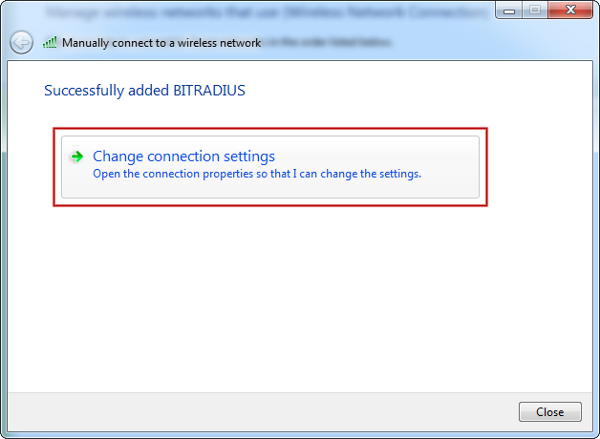
Configure wireless network (1)
- Click
Change connection settings
8
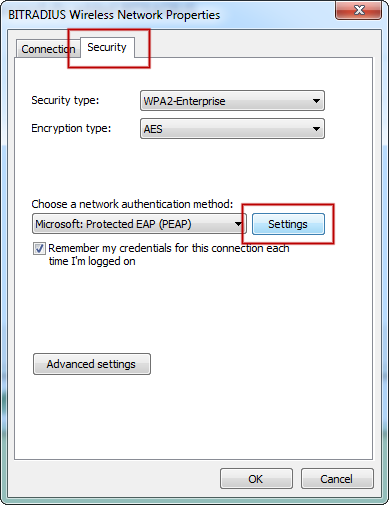
Configure wireless network (2)
- Go to tab
Security - Click
Settings
9
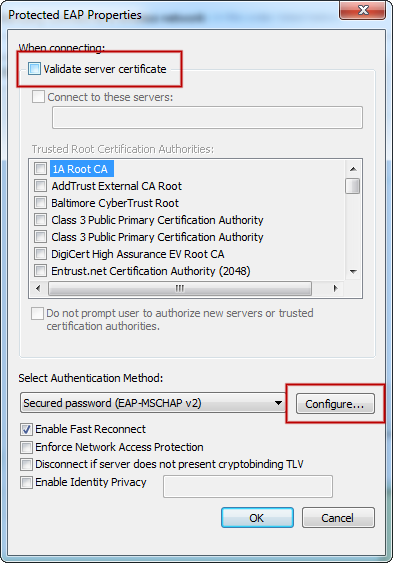
Configure wireless network (3)
- Uncheck
Validate server certificate - Click
Configure...
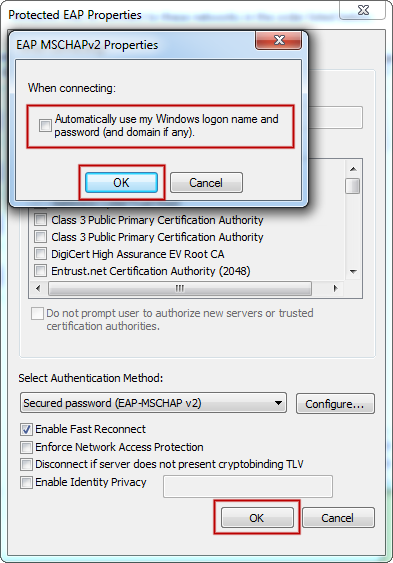
10
Configure wireless network (4)
- Uncheck
Automatically use my Windows logon name and password (and domain if any) - Click
OK - Click
OK
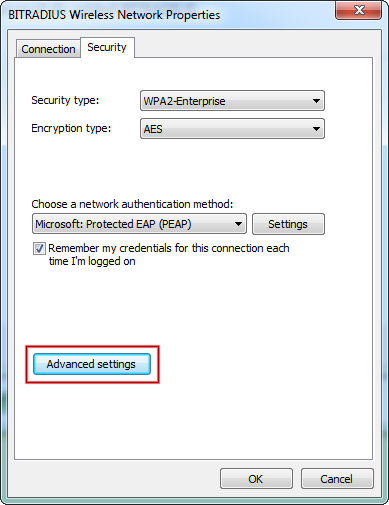
11
Configure wireless network (5)
- Click
Advanced settings
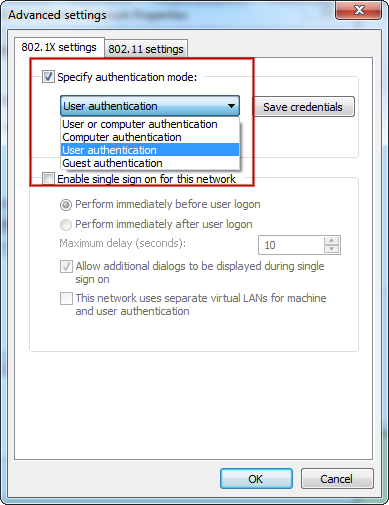
12
Configure wireless network (6)
- Go to tab
802.1X settings - Change the authentication mode to "User authentication"
- Click
OK
13
Connecting to the wireless network
- Right-click on the Wireless Networks icon in the lower right corner of the taskbar
- Select the wireless network you just configured
- Click
Connect - Enter your username and password
- Click
OK