Zarafa on Thunderbird - macOS
This manual is for older systems and/or software and is no longer maintained.
This manual is written for 1A-server users who want to access their Zarafa e-mail, calendars and contacts with Thunderbird. Zarafa is groupware software for e-mail, calendars and contacts.
This manual explains how to configure Thunderbird to use Zarafa on your computer.
Requirements
To complete this manual, you will need:
- The name of your 1A-server
- Your username and password
- A computer with macOS
Steps
2
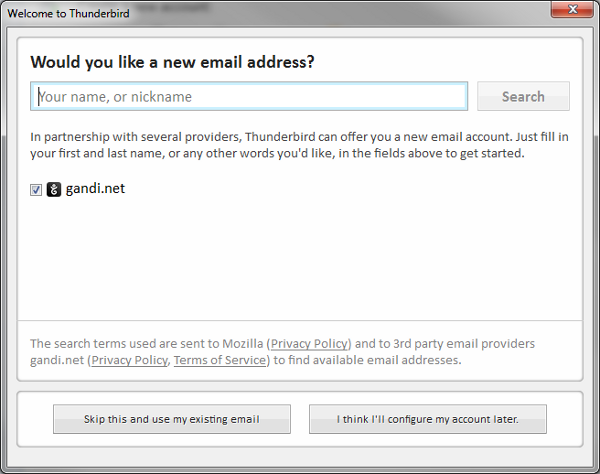
Mail - Configure (1)
- TODO
3
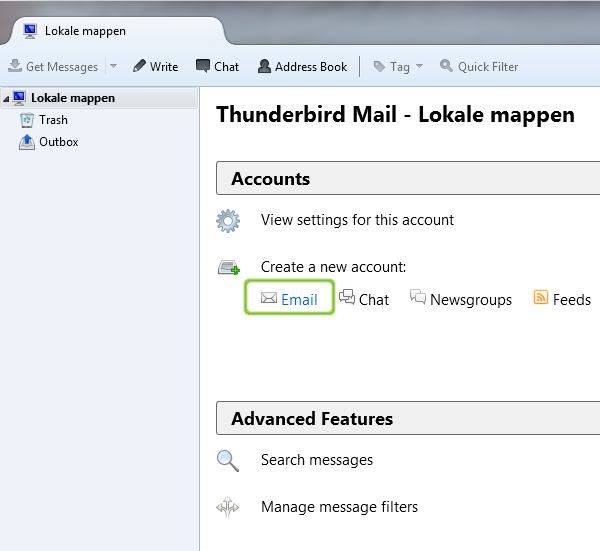
Mail - Configure (2)
- TODO
4
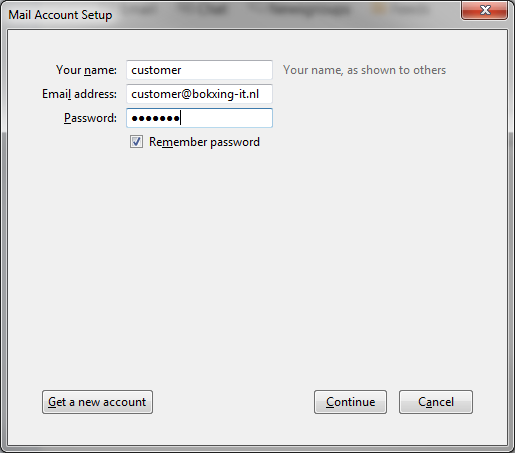
Mail - Configure (3)
- TODO
5
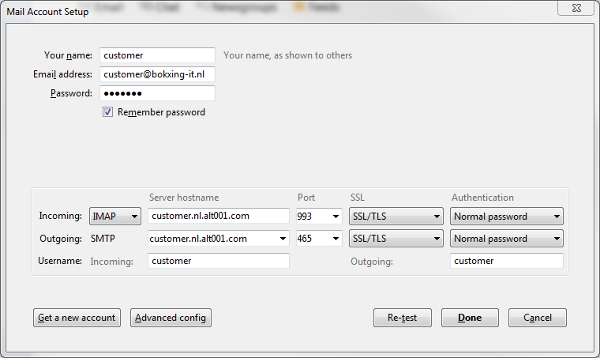
Mail - Configure (4)
- TODO
6
Calendar - Find the CalDAV url of the calendar
- Log in to WebAccess or WebApp (the Zarafa webmail client)
- Note the name of the calendar in lowercase and replace whitespaces with '%20'
- Compose the CalDAV url: "https://<servername>:8442/caldav/<username>/<calendar-name>"
For example:https://company.com.alt001.com:8442/caldav/peter/calendarorhttps://company.com.alt001.com:8442/caldav/peter/agenda
Example with whitespaces:https://company.com.alt001.com:8442/caldav/peter/calendar%20with%20whitespaces
7
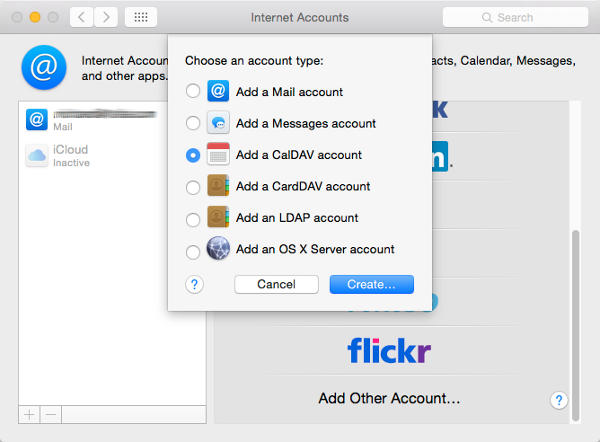
Calendar - Account Create
- Open
System Preferences - Double click
Internet Accounts - Click the plus icon
- Click
Add Other Account - Select
Add a CalDAV account - Click
Create
8
Calendar - Configure (1)
- Change
Type accountto "Manual" - Enter your
User Name - Enter your
Password - At
Server Addressenter the CalDAV url - Click
Create

9
Contacts - Finding the CardDAV url
- In your browser, go to "http://<servername>/sabre-zarafa/addressbooks/"
- Log in with your username and password
- Click on your username
- Now you see all your addressbooks. The default addressbook is "Contacts" (or "Contactpersonen" when Zarafa has been configured to use the Dutch language)
- Copy the link of the addressbook you want to add
- Paste the link in an empty text file
- Remove "http://" and append "/"
- The CardDAV url should now look like this: "https://<servername>/sabre-zarafa/addressbooks/<username>/<addressbook>/"
For example:https://company.com.alt001.com/sabre-zarafa/addressbooks/peter/Contacts/orhttps://company.com.alt001.com/sabre-zarafa/addressbooks/peter/Contactpersonen/
10
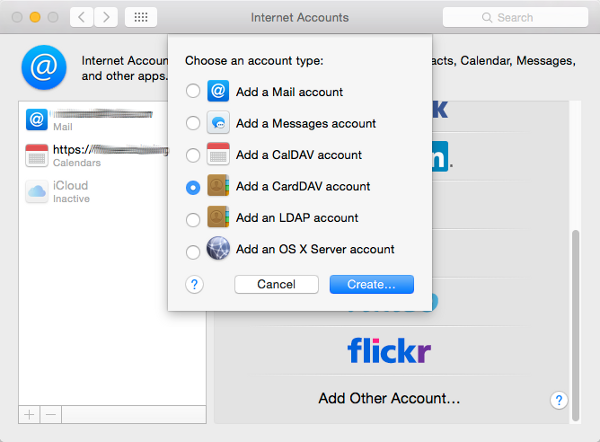
Contacts - Account Create
- Open
System Preferences - Double click
Internet Accounts - Click the plus icon
- Click
Add Other Account - Select
Add a CardDAV account - Click
Create
11
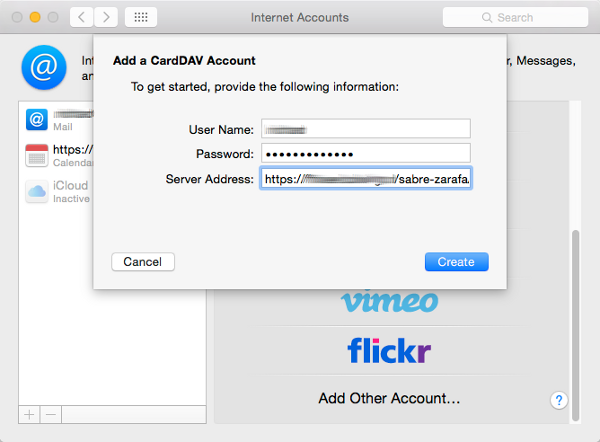
Contacts - Configure (1)
- Enter your
User Name - Enter your
Password - At
Server Addressenter the CardDAV url - Click
Create
12
Using Mail, Calendar and/or Contacts
- Close the window
Internet Accounts - Open
Mail,Calendarand/orContacts
Troubleshooting
1
Mac Calendar - Adding a public calendar
- The CalDAV url is constructed as follows: "https://<servername>:8442/caldav/public/<calendar-name>"
Example: https://company.com.alt001.com:8442/public/our%20public%20calendar
To add a public calendar, follow the steps above.
2
Mac Calendar - Adding a shared calendar
- The CalDAV url is constructed as follows: "https://<servername>:8442/caldav/<username-of-your-collegue>/<calendar-name>"
Example: https://company.com.alt001.com:8442/caldav/john/calendar
To add a shared calendar, follow the steps above.You need access permissions on the calendar you wish to open. This can be done as follows by a Zarafa Admin: - Log in to Zarafa WebAccess
- Go to the calendar
- Right-click on the name of the calendar
- Go to
Properties→ tabPermissions - Click
Add - Select a user
- Grant the appropriate permissions
- Right-click on the inbox of this user
- Go to
Properties→ tabPermissions - Click
Add - Select a user
- Check
Folder visible