Nextcloud Sync-client - Macos
This manual is for users that use Nextcloud on their 1A-server.
This manual explains how to install the Nextcloud Sync-client on your mac desktop.
With Nextcloud it's quite easy and safe to share files with colleagues in and outside your office.
This is possible from your Webbrowser or the Nextcloud Sync-client.
Is Nextcloud not available from your 1A-server? Please contact your 1A-partner.
With the Nextcloud Sync-client it is possible to access files offline without an internet connection.
New changes will be synchronised when a connection to the internet is available.
The Nextcloud Sync-client is available for PC, Mac and smartphones.
The general settings for Nextcloud are administered by your 1A-Partner
Requirements
To complete this manual, you will need:
- Nextcloud on your 1A-server.
- A Mac computer.
- Nextcloud Sync-client for MacOS
- Your username and password
- Your 1A-serveraddress
Steps
Download the Nextcloud Sync-client
- You can find the installation package on → https://nextcloud.com/install/#desktop-files
Start the Nextcloud installer
- Start the installation wizard
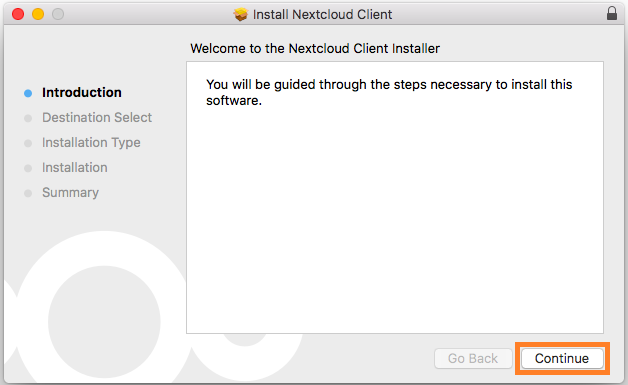
Installing the Nextcloud Sync-client (1)
- Click
Continue
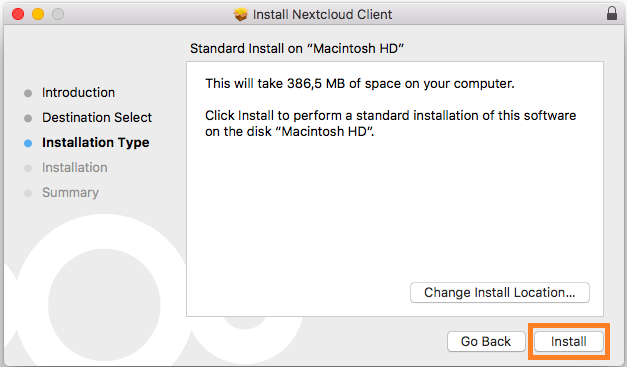
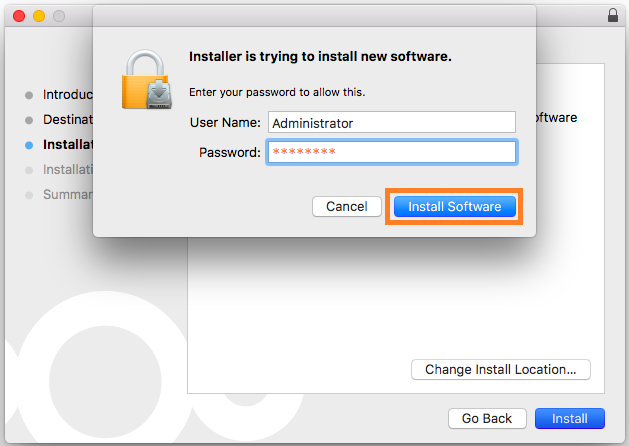
Installing the Nextcloud Sync-client (2)
- Enter your machine's username and password
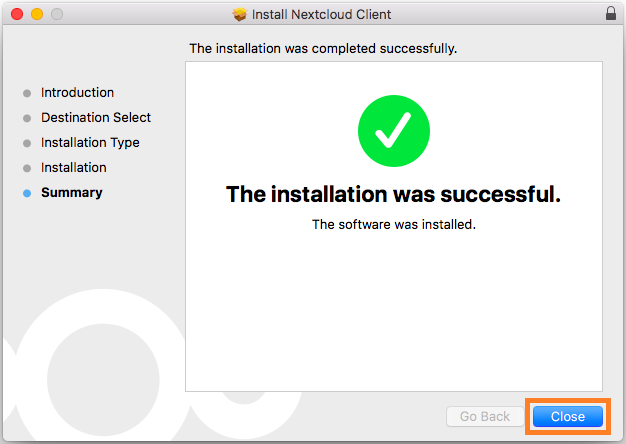
Installing the Nextcloud Sync-client (3)
- The installation is completed
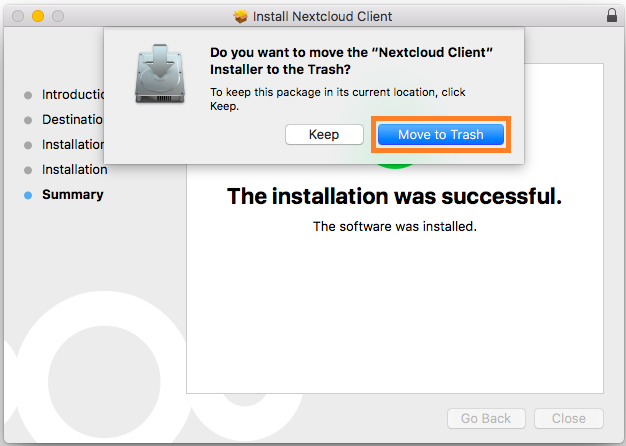
Installeer de Nextcloud Sync-client (4)
- You may move the installer to the trash as it is not needed anymore.
- Click
Move to Trash
Connecting to your 1A-server (1)
- Start the Nextcloud Sync-client

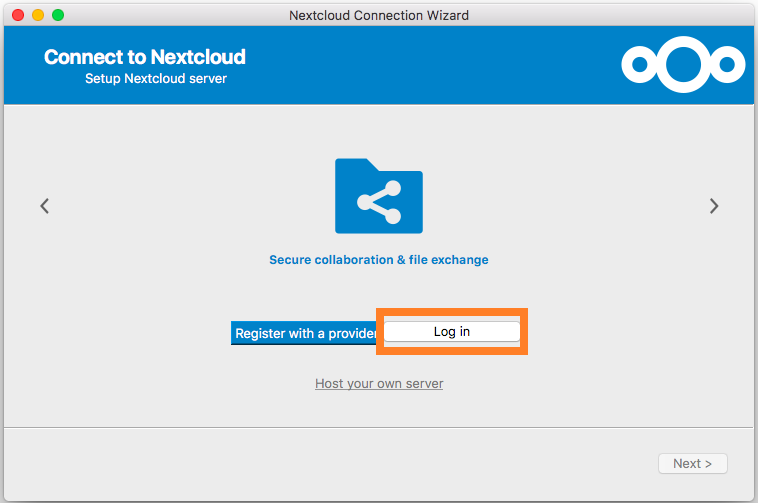
Connecting to your 1A-server (2)
- Click
Log in
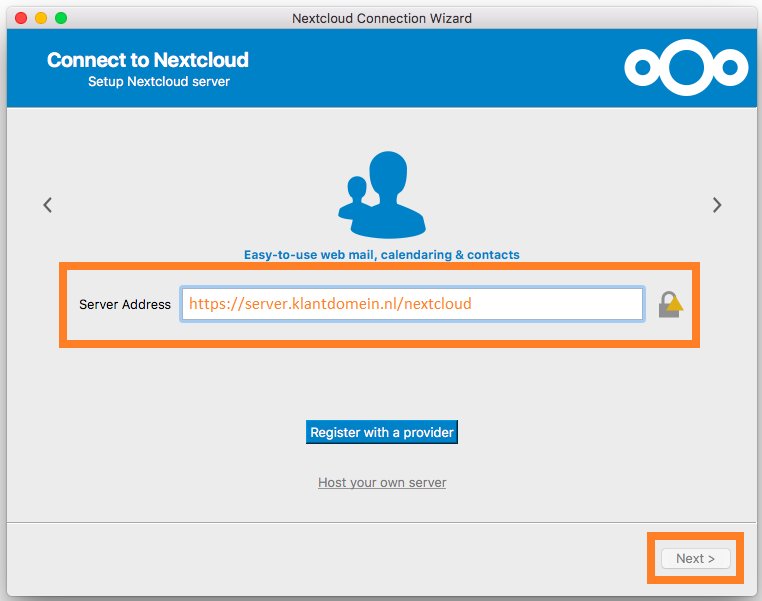
Connecting to your 1A-server (3)
- Fill in your NextCloud serveraddress
- Click
NextThe NextCloud serveraddress consists of the 1A-serveraddress and/nextcloudbehind the address
Example:
-https://server.klantnaam.nl/nextcloud
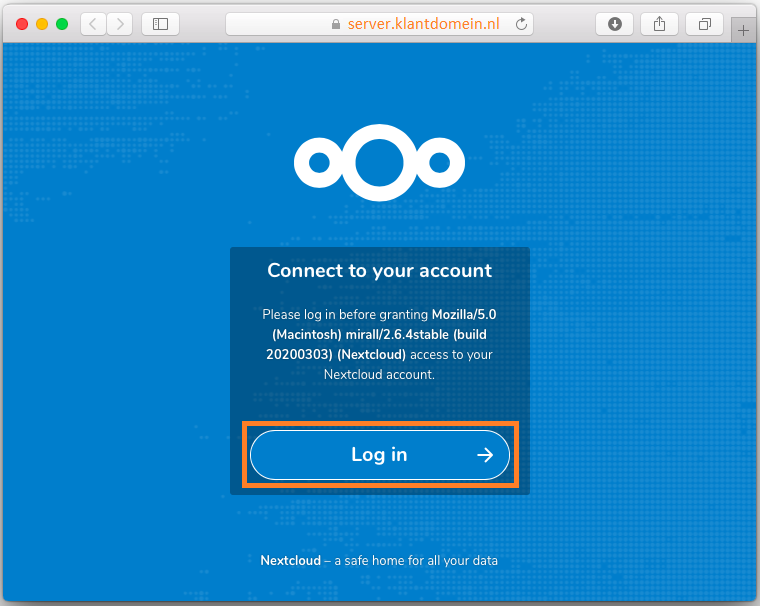
Connecting to your 1A-server (4)
- Click
Log in
Connecting to your 1A-server (5)
- Fill in your
usernameandpassword - Click
Log in

Connecting to your 1A-server (6)
- Click
Verleen toegang

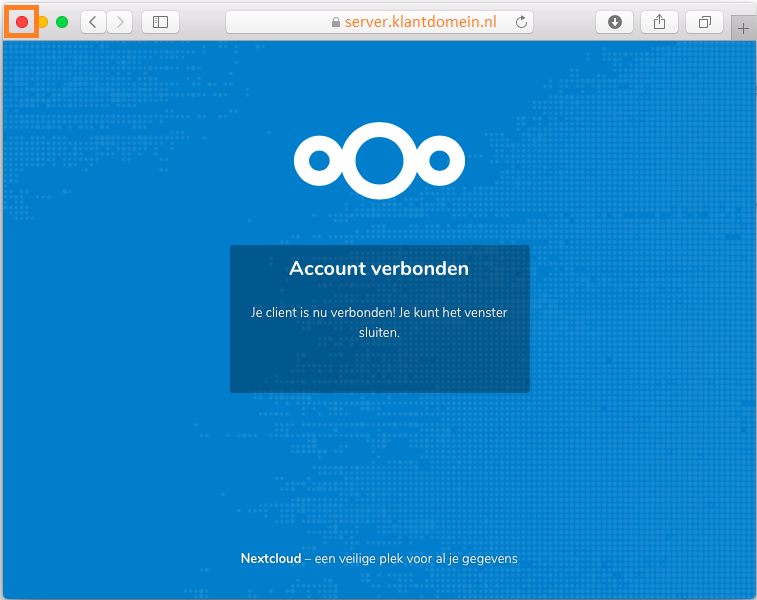
Connecting to your 1A-server (7)
- Close the installation wizard
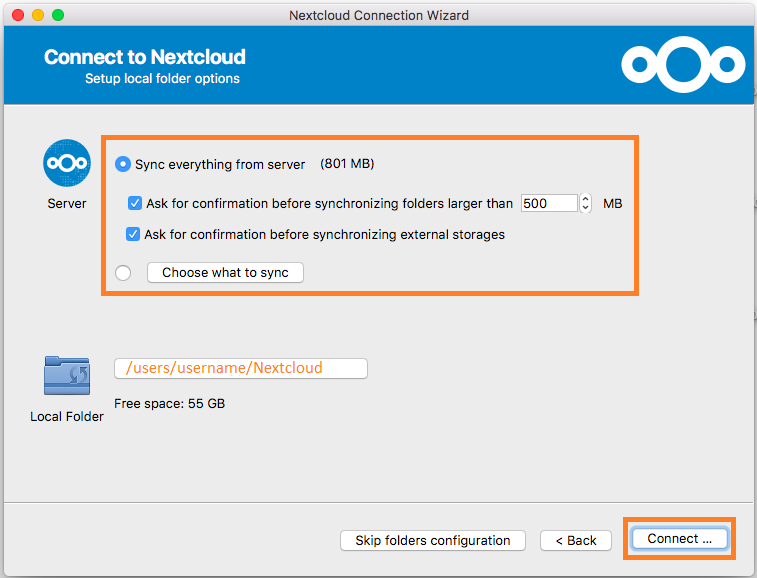
Select which folders will be synced
- If
everythingis very large, you can use optionChoose what to sync - Click
Connect...
Connected with your Nextcloud
- You are now connected with Nextcloud on your 1A-server
- Your device will synchronise the selected files and folders with Nextcloud