Office 365 on Webbrowser - Start
This manual is meant for users with a mailbox in Office 365.
You can use your Office 365 Mailbox with the Outlook Client, through a Webbrowser and with a smartphone (iPhone, Android).
This manual explains how to use Outlook Web, the usage of your Office 365 Mailbox through a webbrowser
Requirements
To complete this manual, you will need:
- A computer connected to the internet
- A webbrowser
- Your emailaddress and password
Usage
2
Signing in
- Enter your
emailaddressand clickNext - Enter your
passwordand clickSign in - Optional: Multifactor-authentication
When your company uses multifactor authentication, you'll have to fill in a Code or approve a sign-in request on your smartphone

3
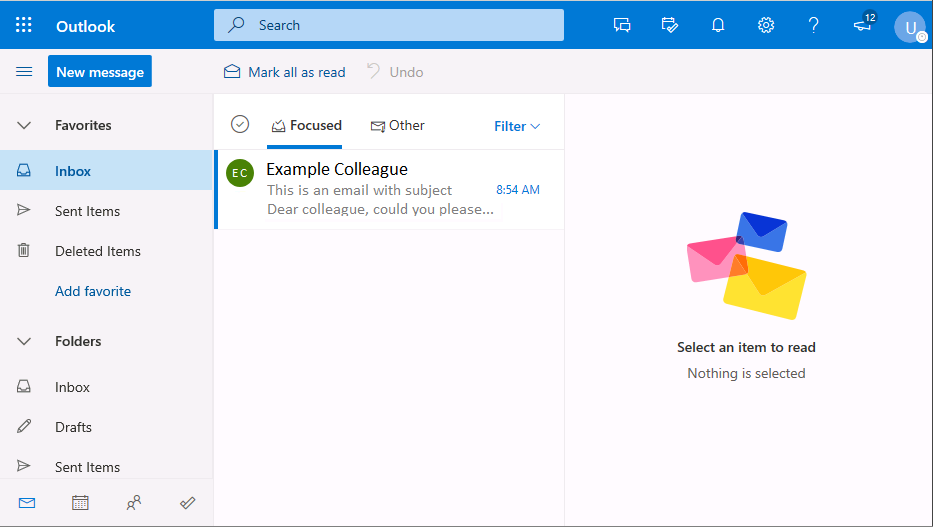
Signed in in Outlook Web
- Your mailbox will be opened
Steps
1
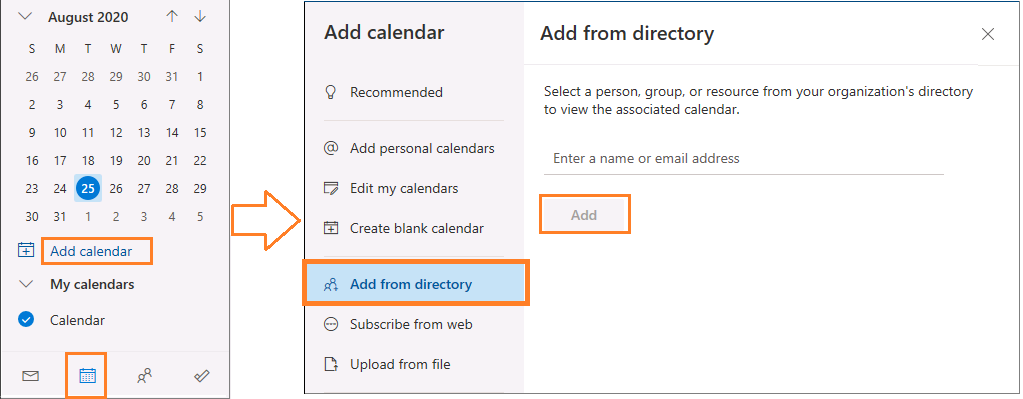
Adding shared calendar
- In the bottom-left corner, click the calendar icon
- Click "
Add calendar" - Click "
Add from directory" - Enter the name or email address of the calendar
- Click
Add - In the navigation pane, the calendar will be added below your personal calendar.
Appointments will be shown in the main pane
2
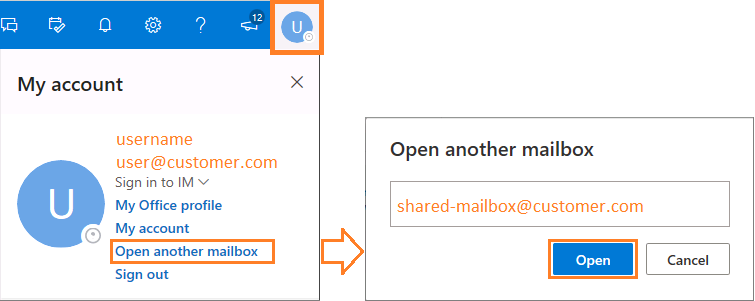
Open shared mailbox
- In the top-right corner, click on your initial
- Click "
Open another mailbox" - Enter the name of the shared mailbox
- Click
open, the mailbox will be opened in a new tab - INFO: Extra mailboxes will always be opened in separate browser-tabs
3
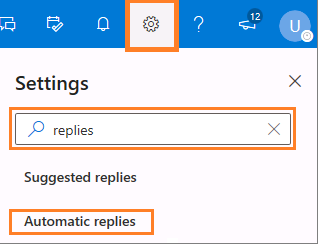
Setting automatic replies (1)
- Click the gear-icon to open
Settings - Search for
repliesin the searchbar - Click "
Automatic replies"
4
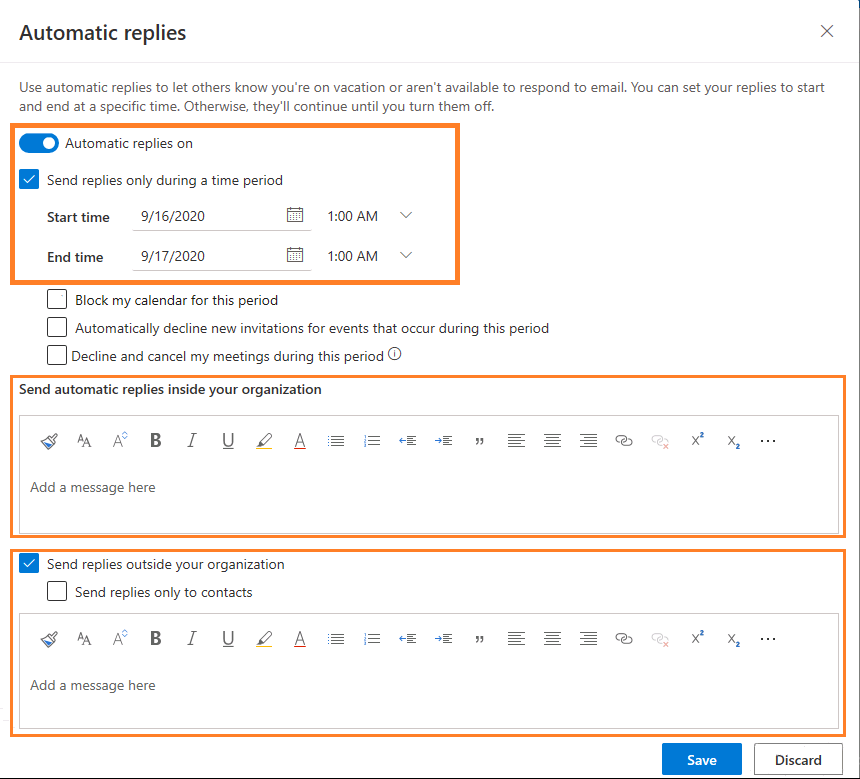
Setting automatic replies (2)
- Activate "
Automatic replies" - Select "
Send replies only during a time period" if you want to set an automatic reply for a certain period (for example for a holiday) - Write the message you want to be sent to your organization
- Choose if you want to send an automatic reply outside your organization as well
- Choose whether you want to send this reply to everyone or only to your contacts
- Write the message you want to be sent to people outside your organization
- Click
Save
5
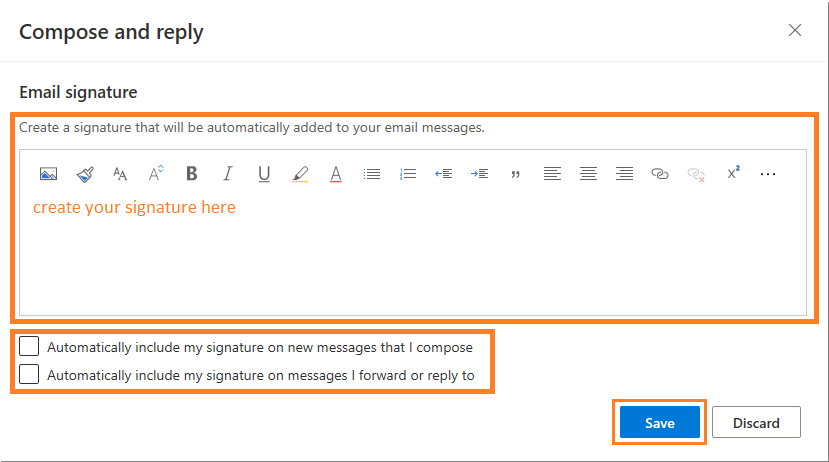
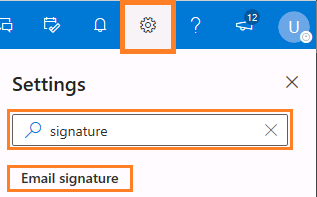
Setting signature (1)
- Click the gear-icon to open
Settings - Search for
signaturein the searchbar - Click
Email signature
6
Setting signature (2)
- Create your signature
- Choose when you want to use your signature
- Click
Save