Setting up a VPN connection (OpenVPN) - Windows 10
This manual is meant for 1A-server users.
It explains how you can make a secure connection to your company's network with the help of OpenVPN.
This way you can use your company's network just as when you are connected directly.
Only accounts that are a member of group "vpn" are allowed to connect through a VPN-connection.
If the old "OpenVPN Desktop Client" is installed on your PC, please uninstall it through the Control panel. You can find it in the software list under the name "OpenVPN Client".
Requirements
To complete this manual, you will need:
- Your username and password
- The OpenVPN configuration-file (ovpn file). You can download it from the Server Info page on your 1A server.
Usage
1
Start OpenVPN (1)
- Double-click icon "
OpenVPN GUI"

2
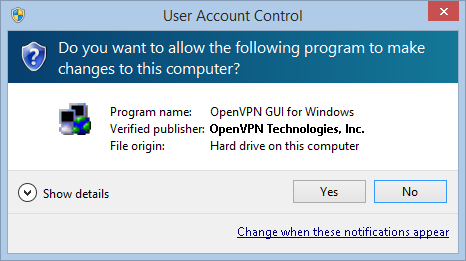
Start OpenVPN (2)
- At the popup for "User Account Control", click
Yes - You will not see this message if you have administrator access to your PC.
3
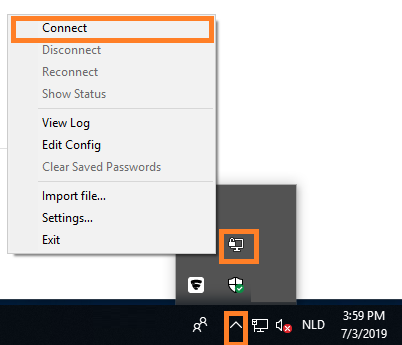
Connect to your company's network (1)
- Right-click the OpenVPN icon in the taskbar
- Select
Connect
4
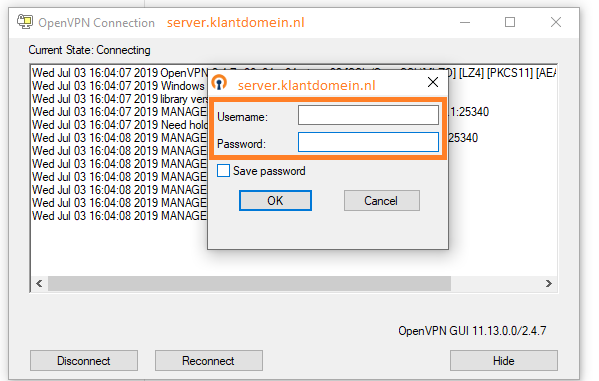
Connect to your company's network (2)
- Enter your username and password
- Click
OK - As soon as you are connected, the screen disappears to the taskbar.
The OpenVPN icon is now greenNote: Option "Save password" is a potential risk, we recommend you do NOT use this, especially on shared computers
5
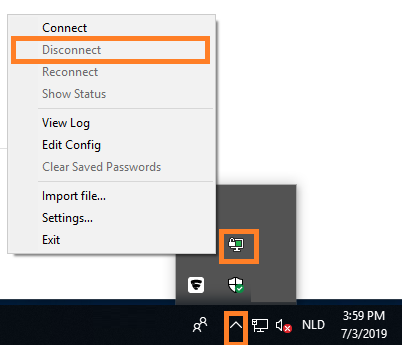
Disconnect
- Right-click the OpenVPN icon in the taskbar
- Select
Disconnect
6
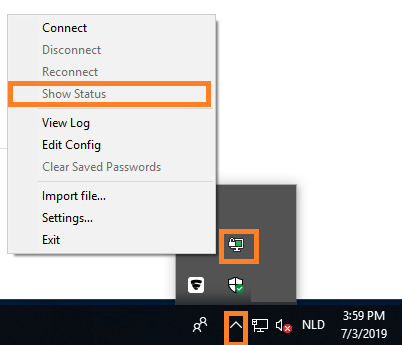
Restore connection window
- Right-click the OpenVPN icon in the taskbar
- Select
Show Status
This option is only available when a connection is active
Steps
1
Download and install the OpenVPN Client
- Go to https://openvpn.net/client/
- Download and install the OpenVPN Client
Example filename:openvpn-install-2.4.4-I601.exeTip: Execute the installer through right-click option "Run as Administrator"
2
Place the ovpn file in the correct location
- Download the OpenVPN configuration-file (ovpn file) from the Server Info page on your 1A server
- Place the ovpn file in
C:\Program Files\OpenVPN\config\
3
Configure OpenVPN to "run as an Administrator" (1)
- On your desktop, right-click icon "
OpenVPN GUI"

4
Configure OpenVPN to "run as an Administrator" (2)
- Select
Properties - Go to tab
Compatibility - Activate option "
Run this program as an administrator" - Click
OK

5
Done
- You can now start using the OpenVPN Client
Troubleshooting
1
Symptom: Cannot reach server by name
- Cause: Some versions of Windows 10 never query the DNS from the VPN-connection
- Solution: This can be resolved by changing a setting in the VPN network connection
2
Open Network properties (1)
- Click
Start - Click
Settings

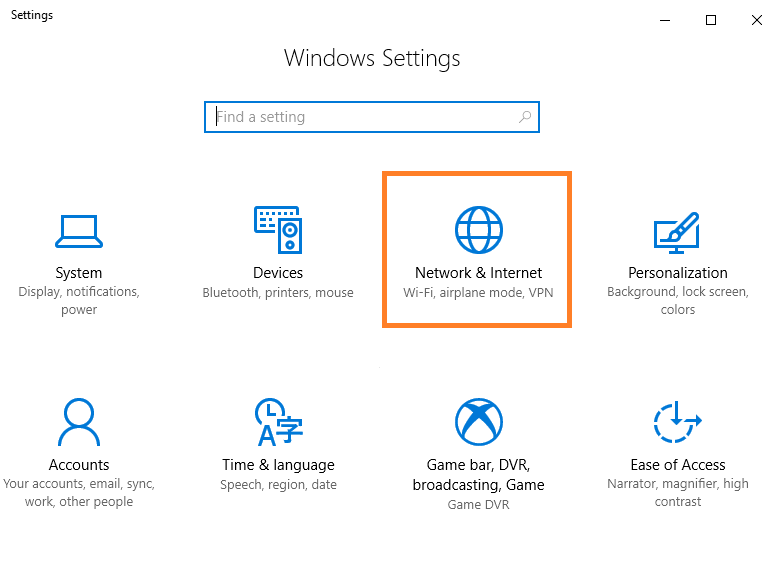
3
Open Network properties (2)
- Click
Network & Internet
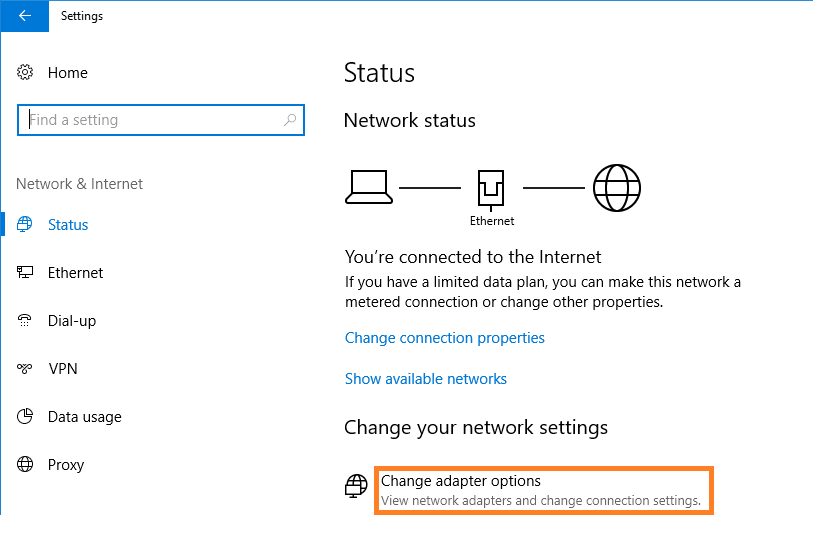
4
Change adapter settings
- Click
Change adapter settings
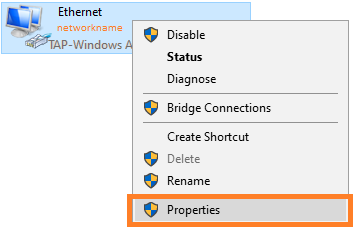
5
Open properties for your VPN connection
- Right-click your VPN connection (This is often called
Tap) - Click
Properties
6
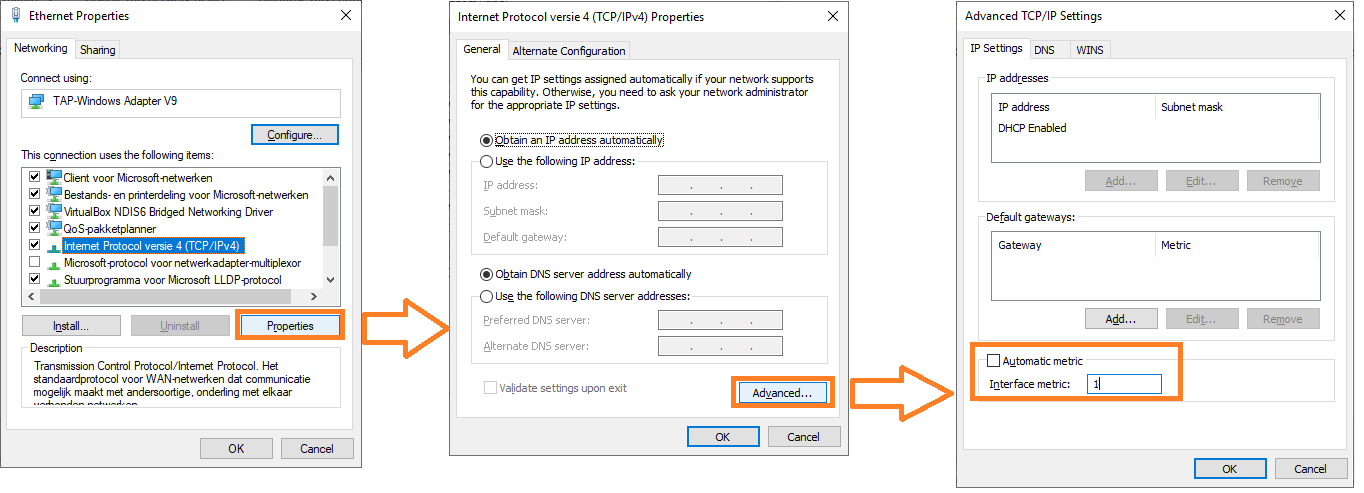
Change IPv4 settings
- In tab
Networkselect IPv4 and openProperties - Click
Advanced - Uncheck
Automatic Metric - In field
Interface Metricenter "1" - Save the settings, return to the
Networktab for IPv6
7
Change IPv6 settings
- In tab
Networkselect IPv6 and openProperties - Click
advanced - Uncheck
Automatic Metric - In field
Interface Metricenter "1" - Save the settings
8
Done
- Start the VPN connection
You should now be able to reach the server by name