Nextcloud Sync-client - Windows 10
This manual is for users that use Nextcloud on their 1A-server.
This manual explains how to install the Nextcloud Sync-client on your desktop.
With Nextcloud it's quite easy and safe to share files with colleagues in and outside your office.
This is possible through Nextcloud-Web or through the Nextcloud Sync-client.
Is Nextcloud not available from your 1A-server? Please contact your 1A-partner.
With the Nextcloud Sync-client it is possible to access files offline without an internet connection.
New changes will be synchronised when a connection to the internet is available.
The Nextcloud Sync-client is available for PC, Mac and smartphones.
The general settings for Nextcloud are administered by your 1A-Partner
Requirements
To complete this manual, you will need:
- Nextcloud on your 1A-server.
- A Windows 10 computer.
- Nextcloud Sync-client for Windows
- Your username and password
- Your 1A-serveraddress
Usage
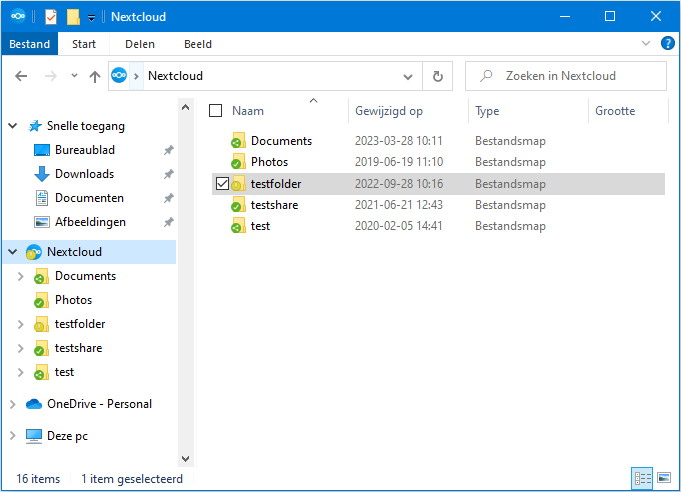
Opening files
- You can open synchronised files through Windows Explorer.
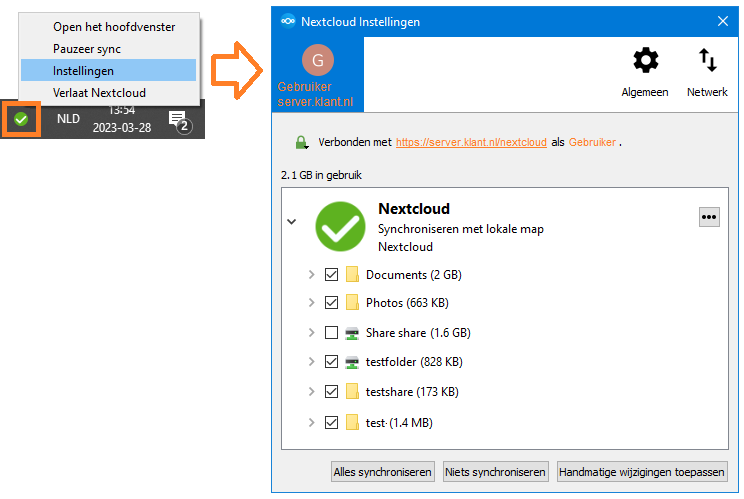
Synchronising files
- Tip: In the Sync-client you can choose to synchronise only specific folders, this saves space on your device.
Removing or deleting files
- When you delete synchronised files on your device, they will also be deleted in Nextcloud !
- If you no longer want to synchronise a folder, you can deselect the folder (see "Synchronising files")
- Deleted files will be moved tou your private Nextcloud recyclebin, that can be managed through Nextcloud-Web
Conflict-files
- When two people change the same file at the same time, a conflict-file will be created on the device with the Sync-client.
Steps
Download the Nextcloud Sync-client
- You can find the installation package on → https://nextcloud.com/install/#desktop-files
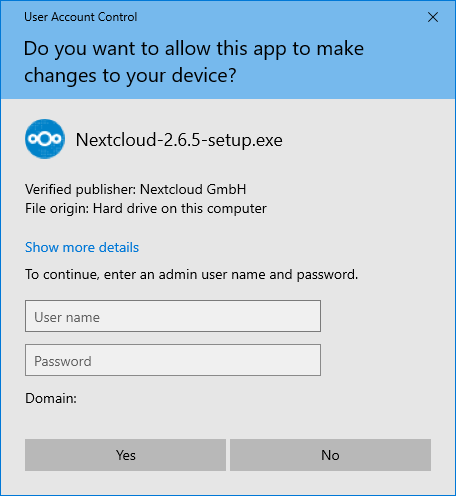
Start the Nextcloud installer (1)
- Start the installation wizard
- Enter the
usernameandpasswordof an account that may install an application on your PC - Click
Yes
Start the Nextcloud installer (2)
- Click
Next
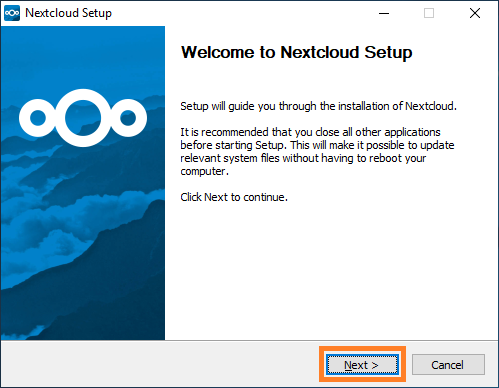
Installing the Nextcloud Sync-client (1)
- Select the
Standardinstall type
This installation type is selected by default - Click
Next
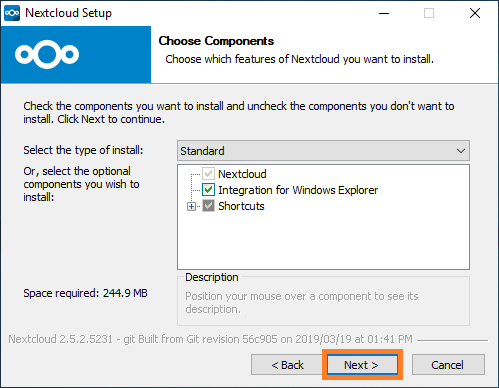
Installing the Nextcloud Sync-client (2)
- Click
Install - Wait until installation has finished
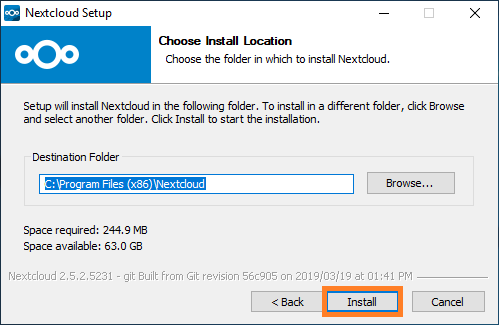
Installing the Nextcloud Sync-client (3)
- Click
Next
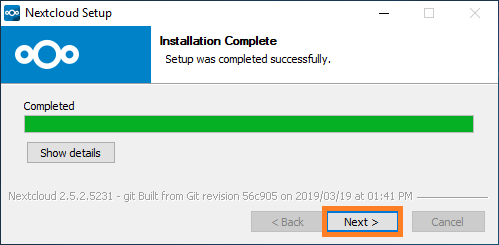
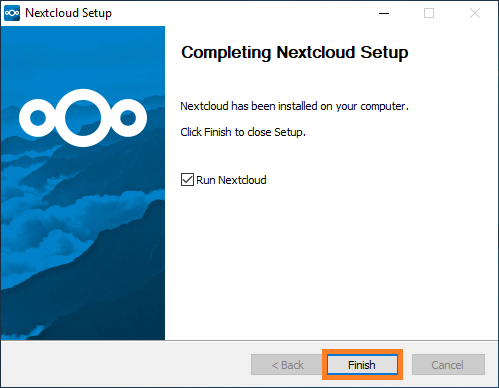
Installing the Nextcloud Sync-client (4)
- Click
Next
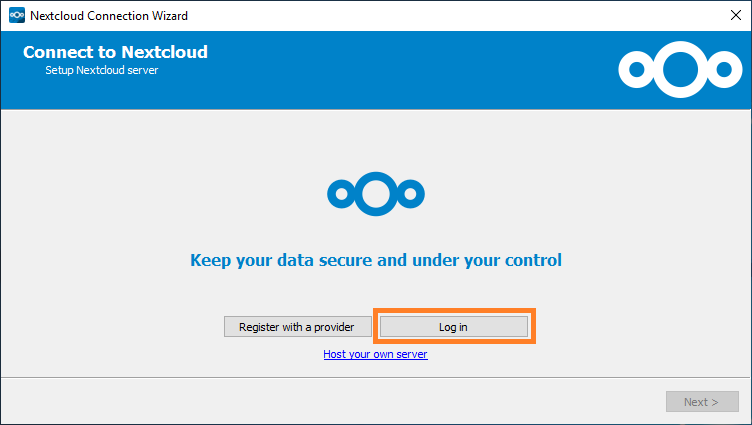
Connecting to your 1A-server (1)
- The first time you start the Nextcloud sync-client you will need to create a sync-profile
- Click
Log in
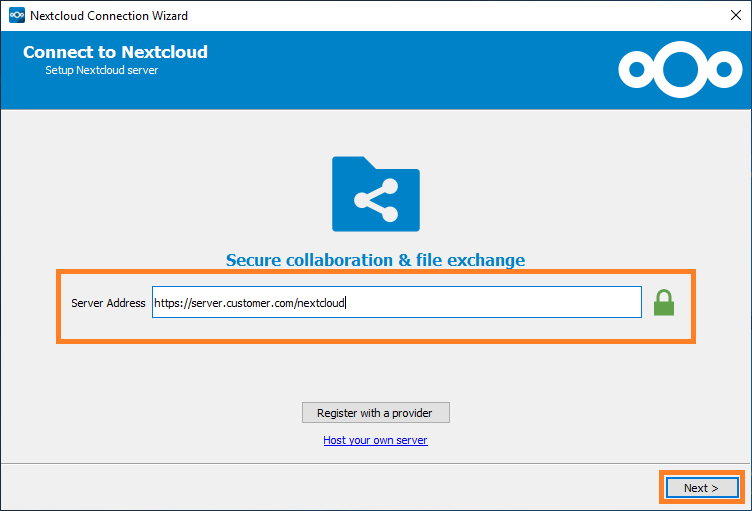
Connecting to your 1A-server (2)
- Fill in your NextCloud serveraddress
- Click
NextThe NextCloud serveraddress consists of the 1A-serveraddress and/nextcloudbehind the address
Example:
-https://server.klantnaam.nl/nextcloud
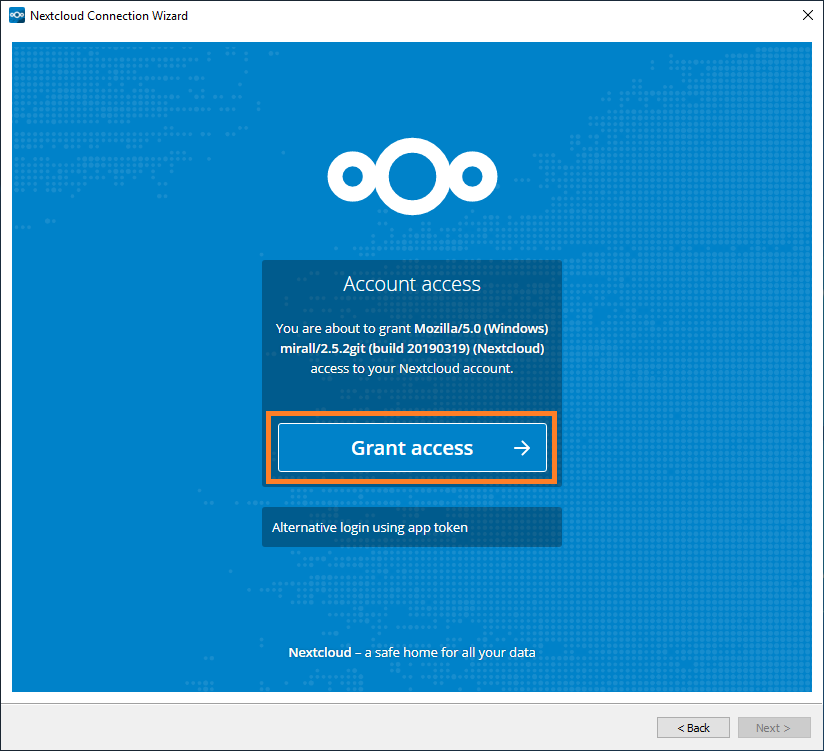
Connecting to your 1A-server (3)
- Click
Grant access
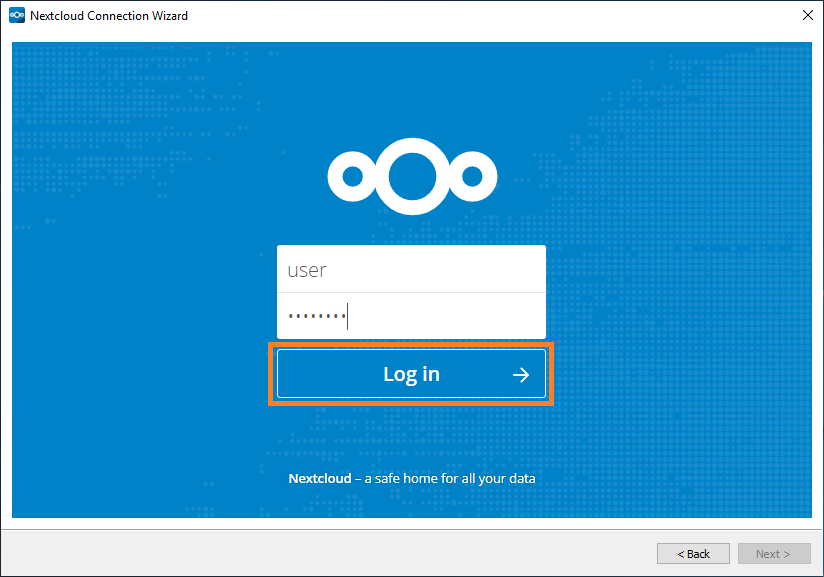
Connecting to your 1A-server (4)
- Fill in your
usernameandpassword - Click
Log in
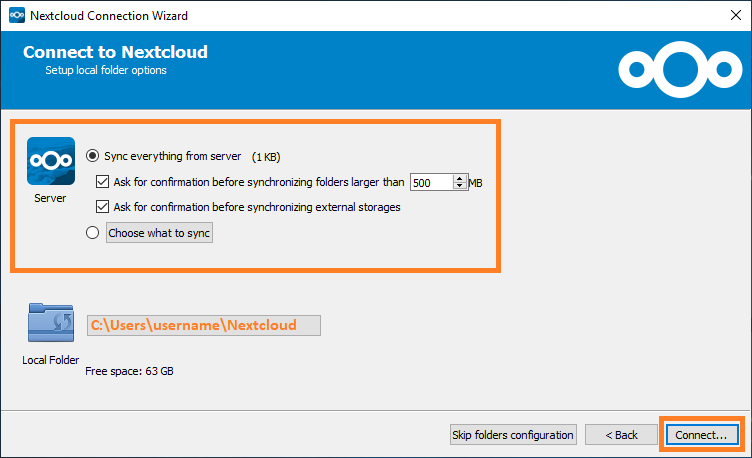
Select which folders will be synced
- If
everythingis too big to sync, you can opt for theChoose what to syncoption - Click
Connect... - Your device will now synchronise with Nextcloud
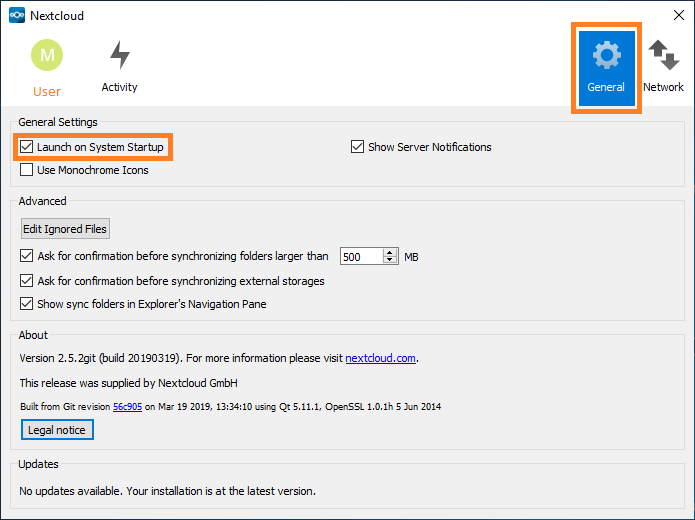
Nextcloud Sync-client settings
- Start Nextcloud
- Go to the
Generaltab - Activate the
Launch on System Startupcheckbox
