Install Thunderbird with SOGo
This manual is meant for users of SOGo Groupware on the 1A-server. It explains how you can connect SOGo to Thunderbird, the free Open Source Groupware client.
Requirements
To complete this manual, you will need:
- Your email address
- Your mail domain (everything behind the @ in your email address)
- Your user name
- Your password
Usage
Steps
2
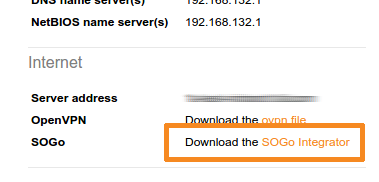
Download the SOGo Integrator
- Browse to the Server Info page of your 1A-server
- Right-click the link to the "SOGo Integrator"
- Choose "Save As"
- Save "sogo-integrator.xpi" to your Downloads folder
The other required add-ons will be automatically downloaded during the installation of SOGo Integrator in step 7.
3
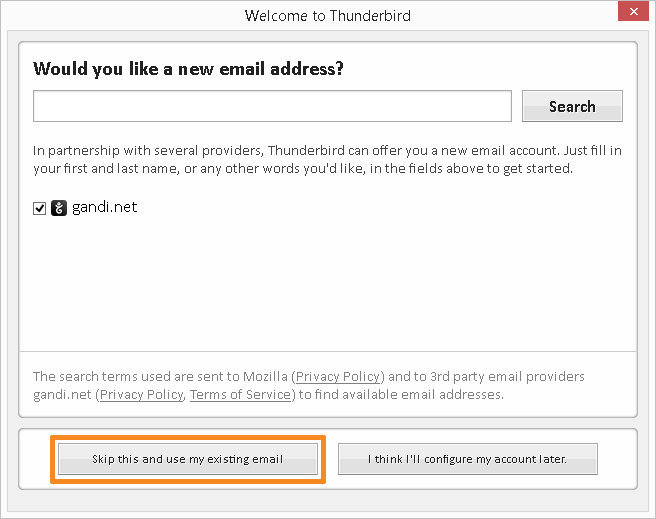
Start Thunderbird for the first time
- Start Thunderbird
- Choose to use Thunderbird as your default e-mail application
- At "Would you like a new email address" click on
Skip this and use my existing email
4
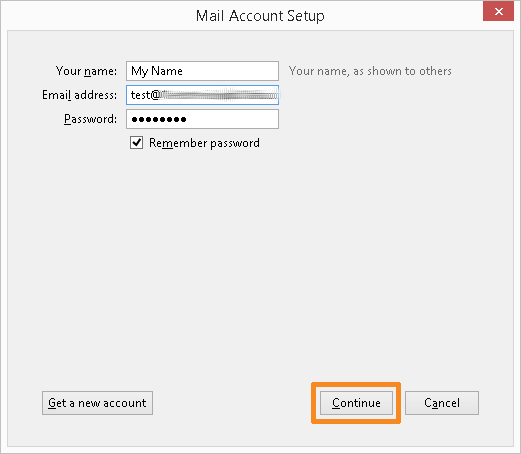
Configure your email account (1)
- Enter your name
- At "Email address" do NOT enter your email address, but instead enter your user name followed by an @ and then your mail domain, for example
user_name@mail_domain.com - Enter your password
- Click
Continue
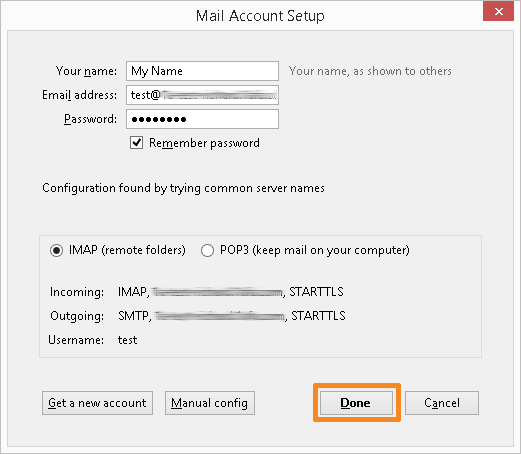
5
Configure your email account (2)
- Wait until the screen is done
- Click
Done
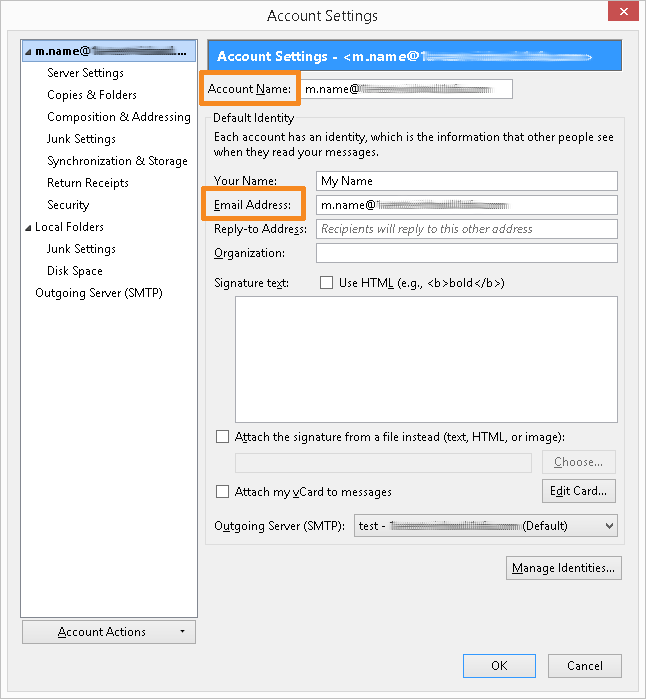
6
Stel uw e-mailaccount in (3)
- Click on your newly added email account
- If your email address differs, change "Account Name" and "Email Address" to the correct value
- Click
OK
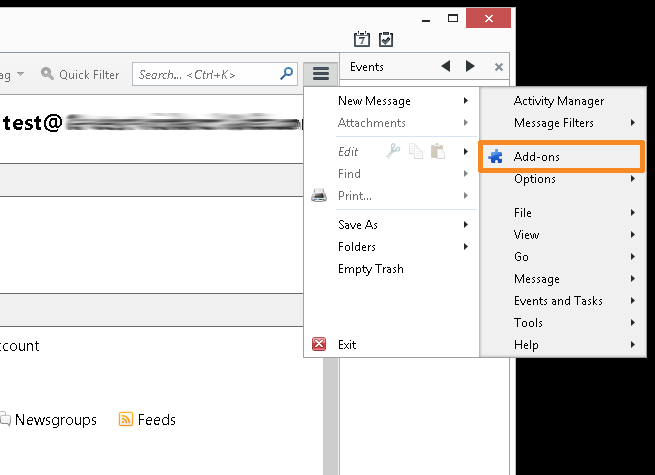
7
Open the Add-ons Manager
- Open the menu (next to the search field)
- Click
Add-ons
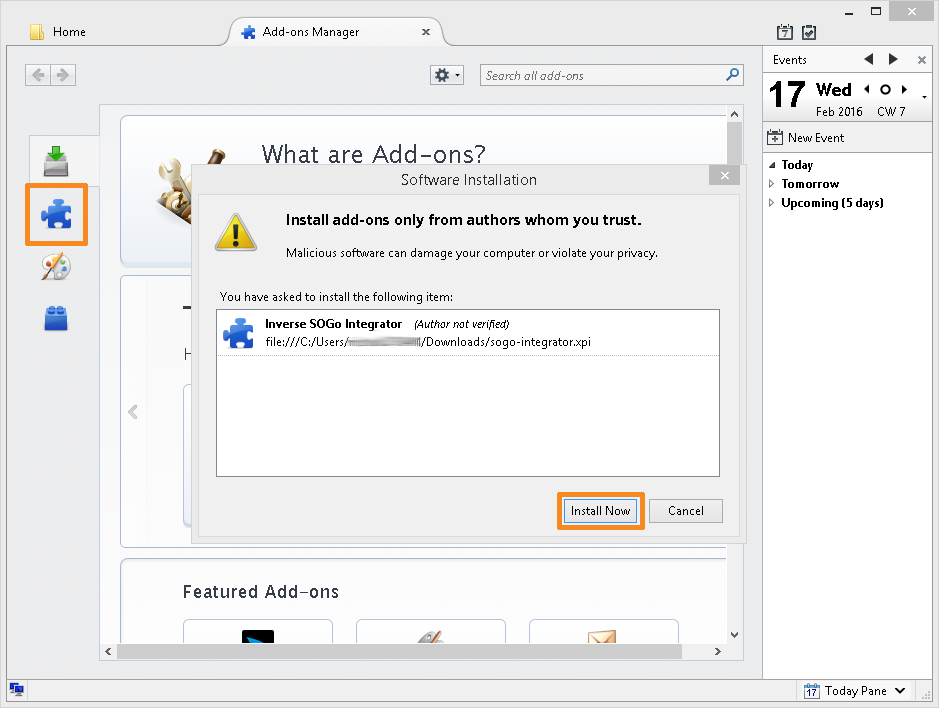
8
Install the SOGo Integrator
- Drag "sogo-integrator.xpi" from your Downloads folder to the blue puzzle piece (Extensions) and release your mouse button
- Click
Install Now - Click
Restart Now
The other required add-ons will now be automatically installed.
Thunderbird will require to be restarted again. - When asked, enter your password and click
OK
9
Conclusion
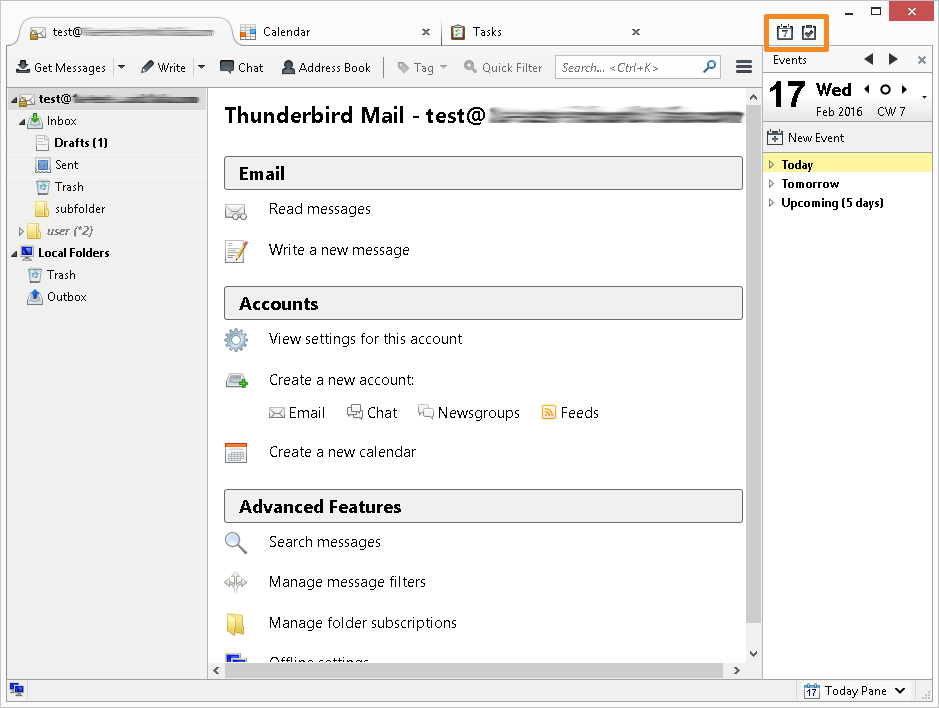
- Close the tab "Add-ons Manager"
- At the bottom, click on
Keepon the message regarding the Lightning add-on - Click the two icons at the top right
The tabs "Calendar" and "Tasks" have now been opened.
Troubleshooting
1
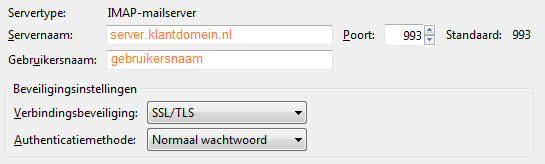
Manually configuring the IMAP server (incoming mail)
- Servername: The
Serveradressof your 1A-server, see Server Info - Port: 993 , this is de standard-port for secure IMAP-connections
- Connection security: SSL/TLS
- Username: The
usernameof the user who will use this account
2
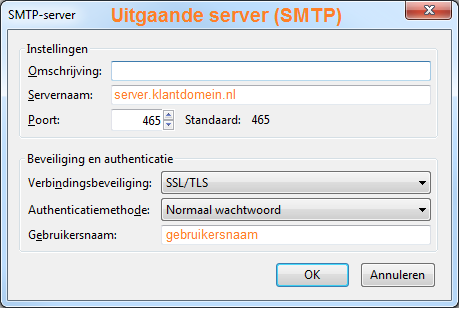
Manually configuring the Outgoing mailserver
- Servername: The
Serveradressof your 1A-server, see Server Info - Port: 465 , this is the standard-port for authenticated SMTP-connections
- Connection security: SSL/TLS
- Username: The
usernameof the user who will use this account
3
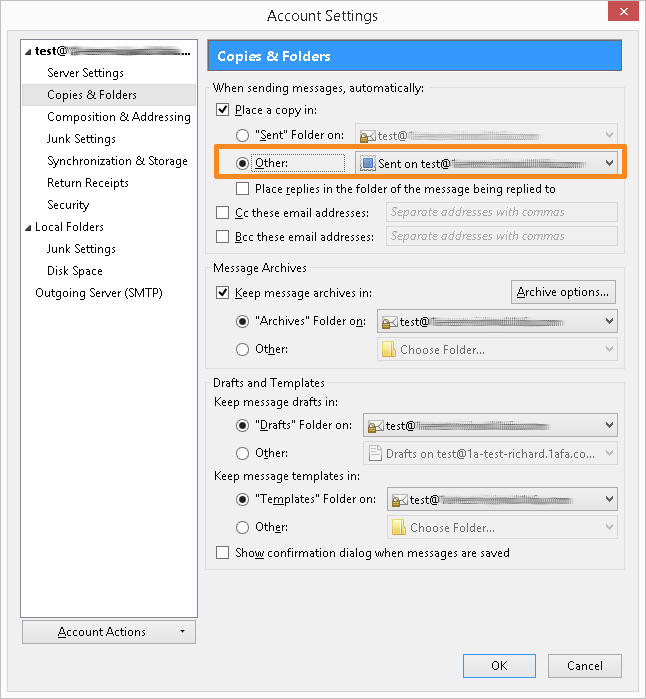
Manually configuring the default folders
- It can happen that the default folders are incorrect, for example after a migration from another mail system. In "Copies & Folders" these folders can be assigned with the option
Other. - At the desired folder, select
Other - Select the proper folder
- Click
OK
4
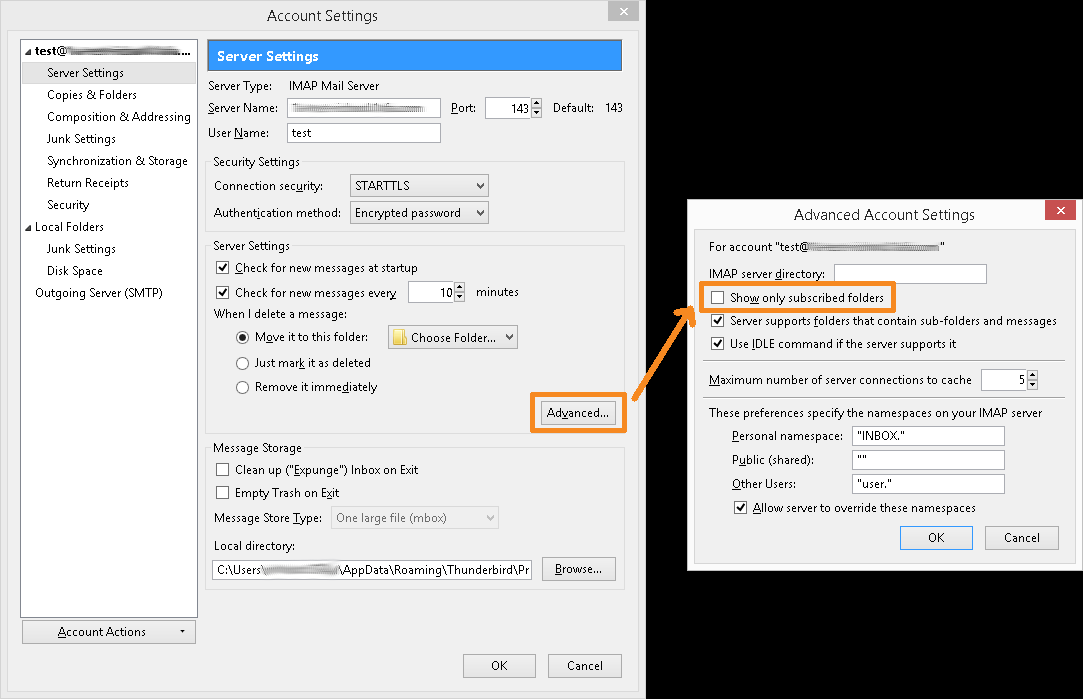
Not all folders are shown
- It can happen that not all folders are subscribed. The easiest solution is to configure that all maps must be shown.
- Open Account Settings
- Go to Server Settings
- Click
Advanced... - Uncheck
Show only subscribed folders - Click
OK(2x)