Configuring the Kopano Outlook Extension - Outlook 2016
This manual is for older systems and/or software and is no longer maintained.
This manual is meant for 1A-server users.
It explains how you can create a Microsoft Outlook profile that uses the Kopano Outlook Extension.
Requirements
To complete this manual, you will need:
- Your username and password
- Your company's maildomain
- A computer with Microsoft Windows
- Microsoft Outlook 2016 installed
- The Kopano Outlook Extension installed
Usage
1
Shared folders and calendars
- Use manual: Outlook with Kopano - Open shared mailbox
- Use manual: Outlook with Kopano - Share own mailbox
Steps
1
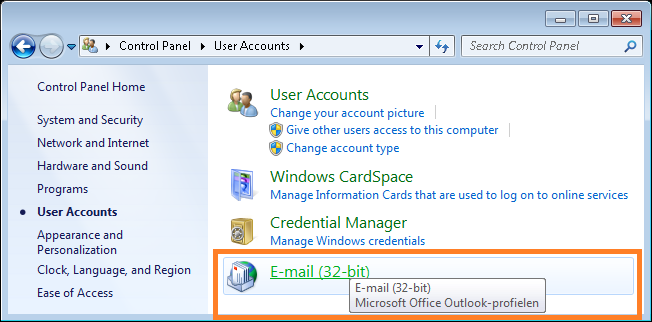
Show Email-profiles (1)
- Go to
Control Panel→User accounts→E-mailPlease note: Do not start Outlook yet.
2
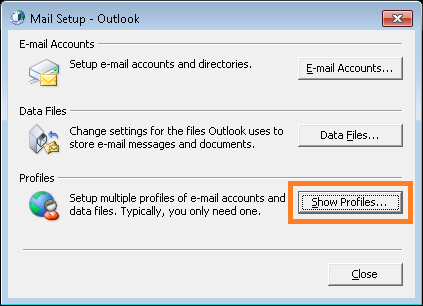
Show Email-profiles (2)
- Click
Show Profiles
This screen will only show when one or more Email-profiles are present
3
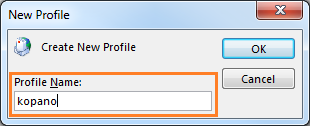
Create profile
- Click
Add... - Enter a profile name (for example your own name)
- Click
OK
4
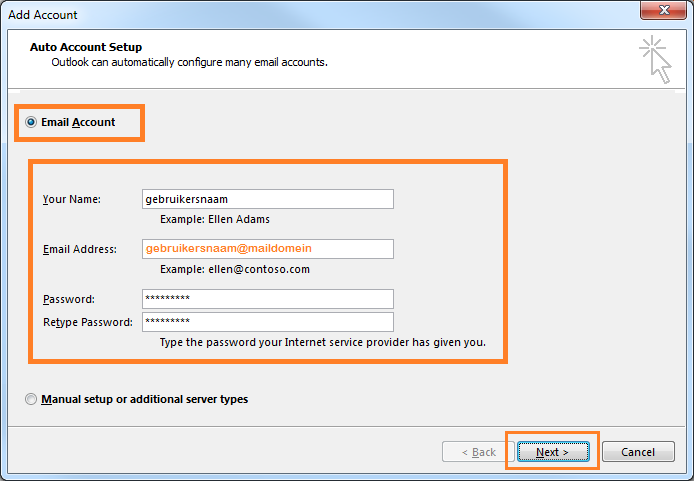
Add new account (1)
- Select
Email account - In field
Your Name, enter your username - In field
Email Address, enter your email-address. Usually this is "your username" @ "your company's maildomain" - In field
PasswordandRetype Password, enter your password - Click
NextPlease note: If your email-address was filled automatically, the fields forPasswordwill be hidden and fieldYour Namewill be greyed-out.
When you enter your email-adress in fieldEmail Addressthe other field will become editable.
5
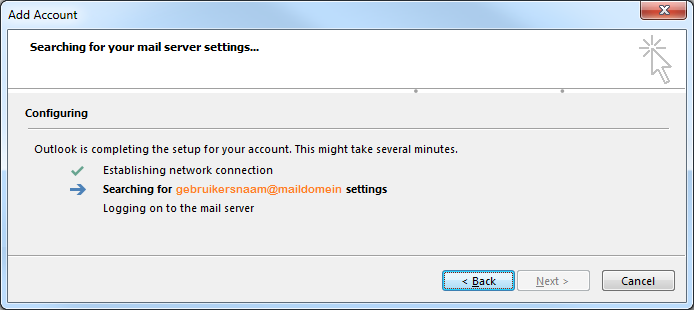
Add new account (2)
- Outlook will attempt to discover your configuration.
Outlook does this based on the username before the@in your email-address, and the maildomain after the@.Please note: If autodetect is unsuccesful, you can try to configure the account manually.
See chapter "Troubleshooting" at the bottom of this page.
6
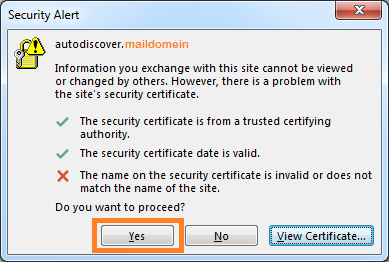
Add new account (3)
- If you receive a warning about the certificate, click
Yes
7
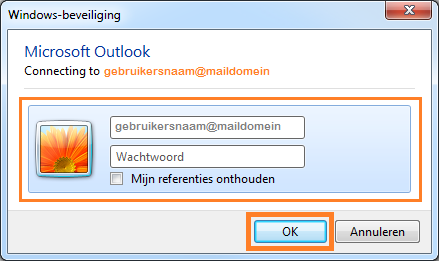
Add new account (4)
- Vul uw gebruikersnaam en wachtwoord in
- Klik op
OK
8
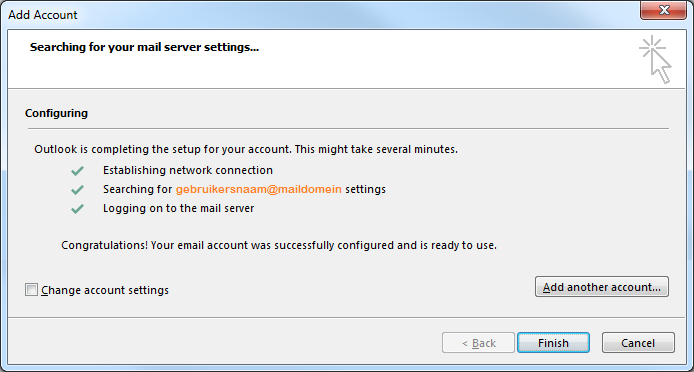
Add new account (5)
- Click
Finish - The Outlook-profile has been created
9
Complete the configuration
- Start Outlook
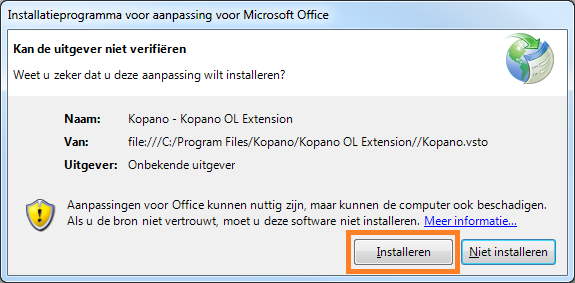
- Install the Kopano Outlook Extension
- Outlook will load the extension the next time it starts
- Restart Outlook
10
Configuration complete
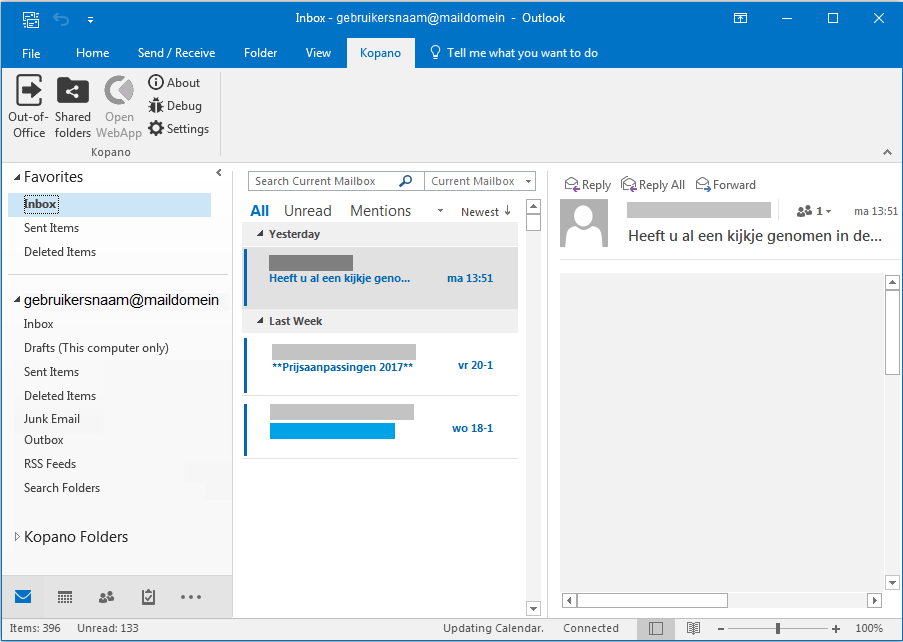
- In Outlook the
Kopano Foldersand tabKopanowill be visible - The configuration of Outlook with the Kopano Extension is now complete
Troubleshooting
1
Configuring the account manually (1)
- If autodetect is unsuccessful
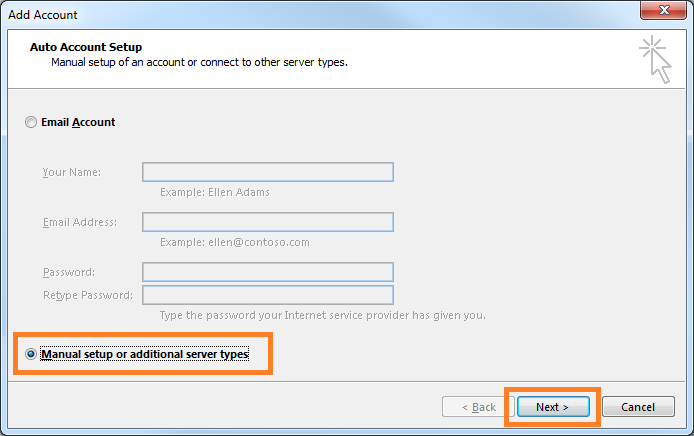
- Select
Manual setup or additional server types - Click
Next
2
Configuring the account manually (2)
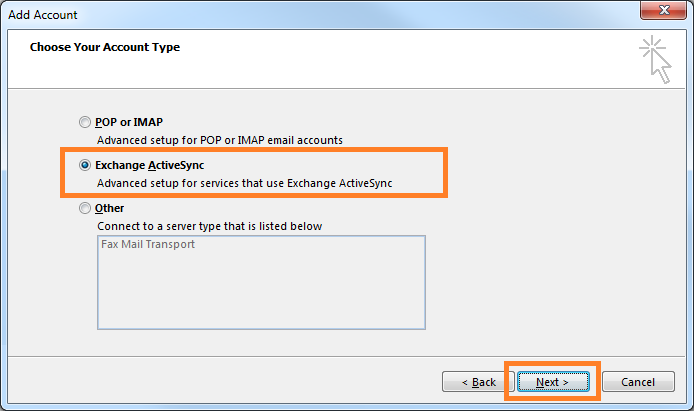
- Select
ActiveSync - Click
Next
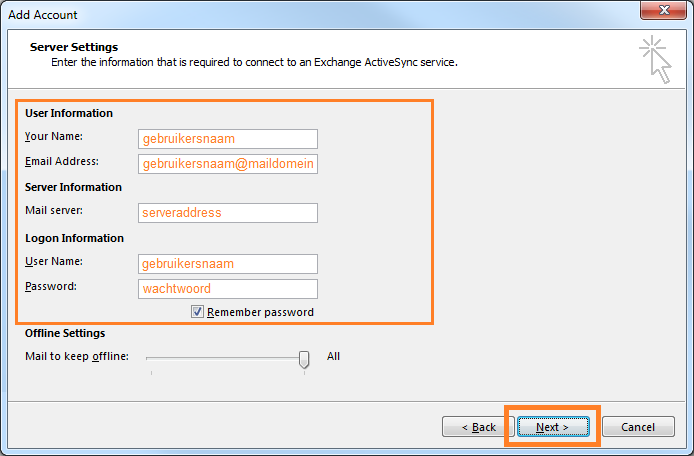
3
Configuring the account manually (3)
- In field
Your Name, enter your username - In field
Email Address, enter your email-address - In field
Mail server, enter the Serveraddress of your 1A-server - In field
User Name, enter your username - In field
PasswordandRetype Password, enter your password - Click
Next
4
Configuring the account manually (4)
- The connection will now be established with the settings you entered manually
- Return to step 6: Add new account (3)